Flashing BlHeli on HobbyKing BlueSeries 12a ESCs With a Chinese Arduino Nano Clone
This article is essentially the same as my
The only differences are:
-
How you connect the ISP, since there are no breakout pads on the board
-
The firmware you pick after hitting read (obviously, pick the right firmware for your esc)
Connecting the ISP
-
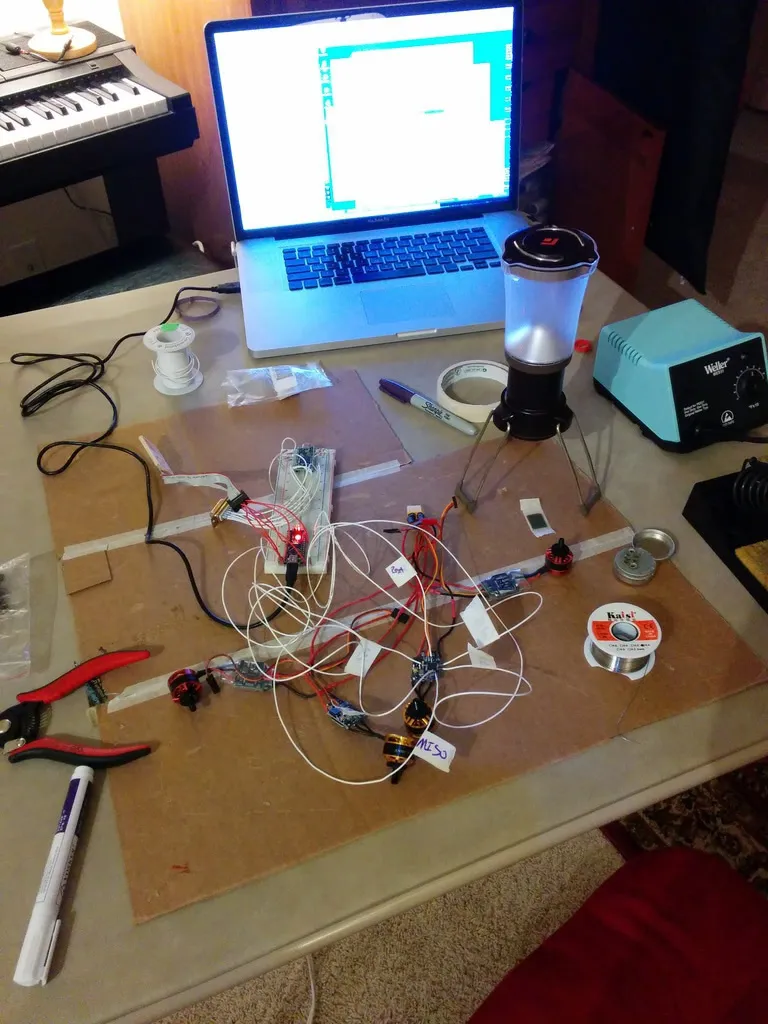
This can be done in a variety of ways. Since I didnt have a programmer around and failed at making one out of clay (no-bake polymer clay melts, it doesn’t get harder in the oven), I just soldered leads to each of the 6 ISP pins on the Atmega328p microcontroller, flashed it, then pulled the leads off.
-
Use the pinout diagram from the datasheet to wire the right pins. Remember that the Arduino’s MOSI/MISO/SS(Reset)/SCK/+5V/GND should go to the same pin on the ESC’s Atmega328p. That is:
ARDUINO          ESC
 MOSI     <->    MOSI
 MISO     <->    MISO
 RESET    <->    RESET
 SCK      <->    SCK
 5V+      <->    5V+
 GND      <->    GND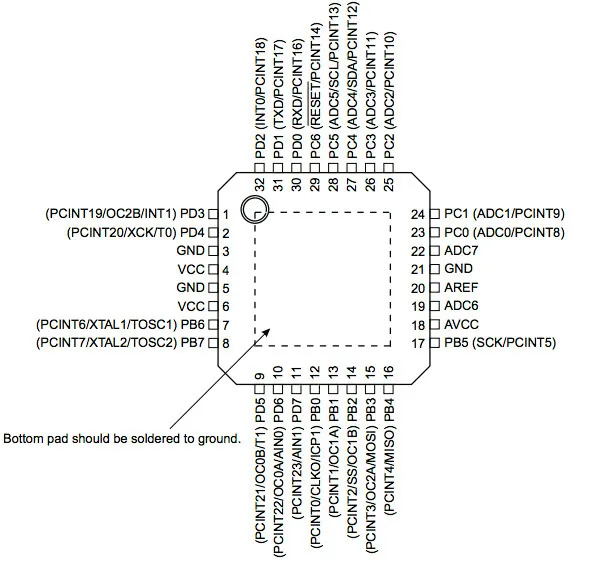
-
Note the corresponding circle on the diagram and the chip
-
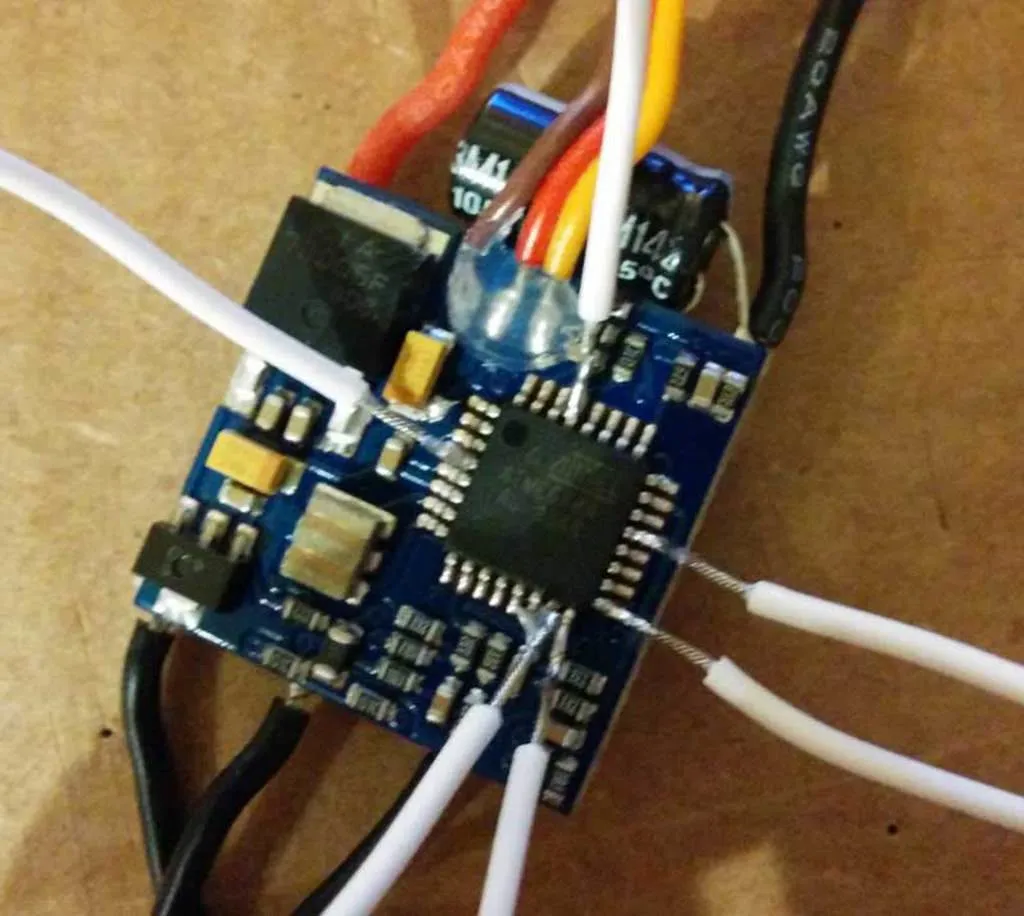
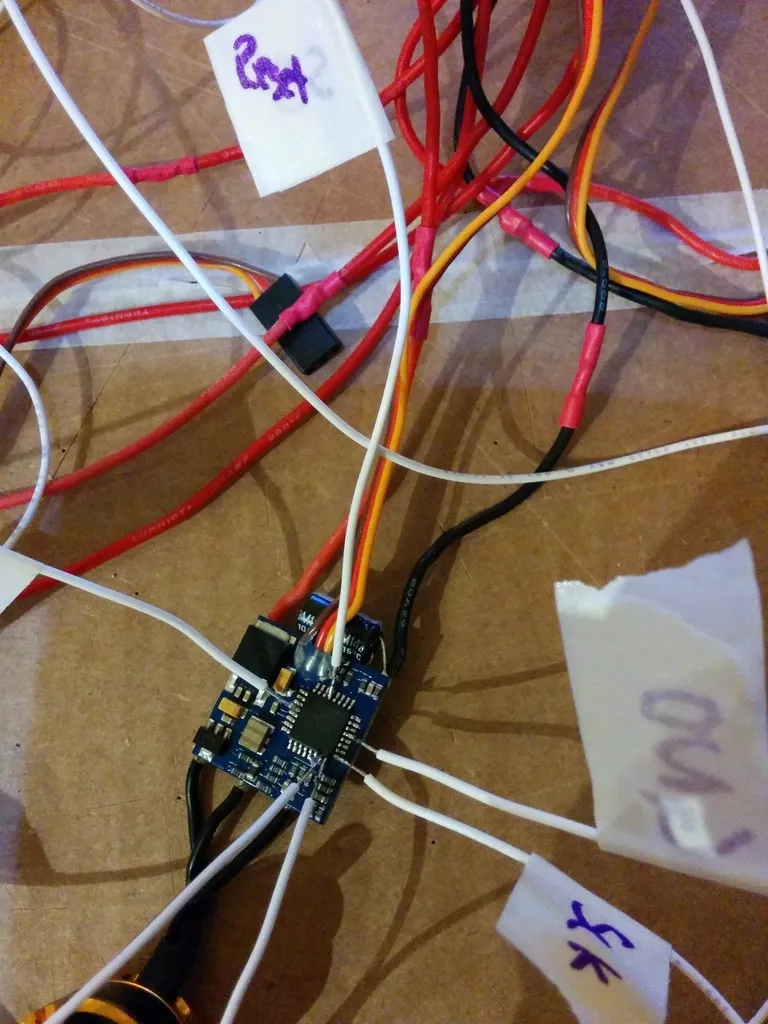
Here’s what it looks like wired up
-
When soldering fine pitch surface mount components, a small soldering iron isn’t necessary, just a flux pen ($1 on ebay) and some fine guage wire. Simply tin the wire, then set the wire on the fluxed pin (don’t worry about being accurate with the flux, you can flux the whole chip and it will still work), then touch your soldering iron to the wire. Solder will flow from the wire onto the fluxed pin and form a strong bond.
-
Once you get the hang of it, it only takes a few minutes to solder all 6 wires on each ESC.
That’s basically it. Happy flashing!