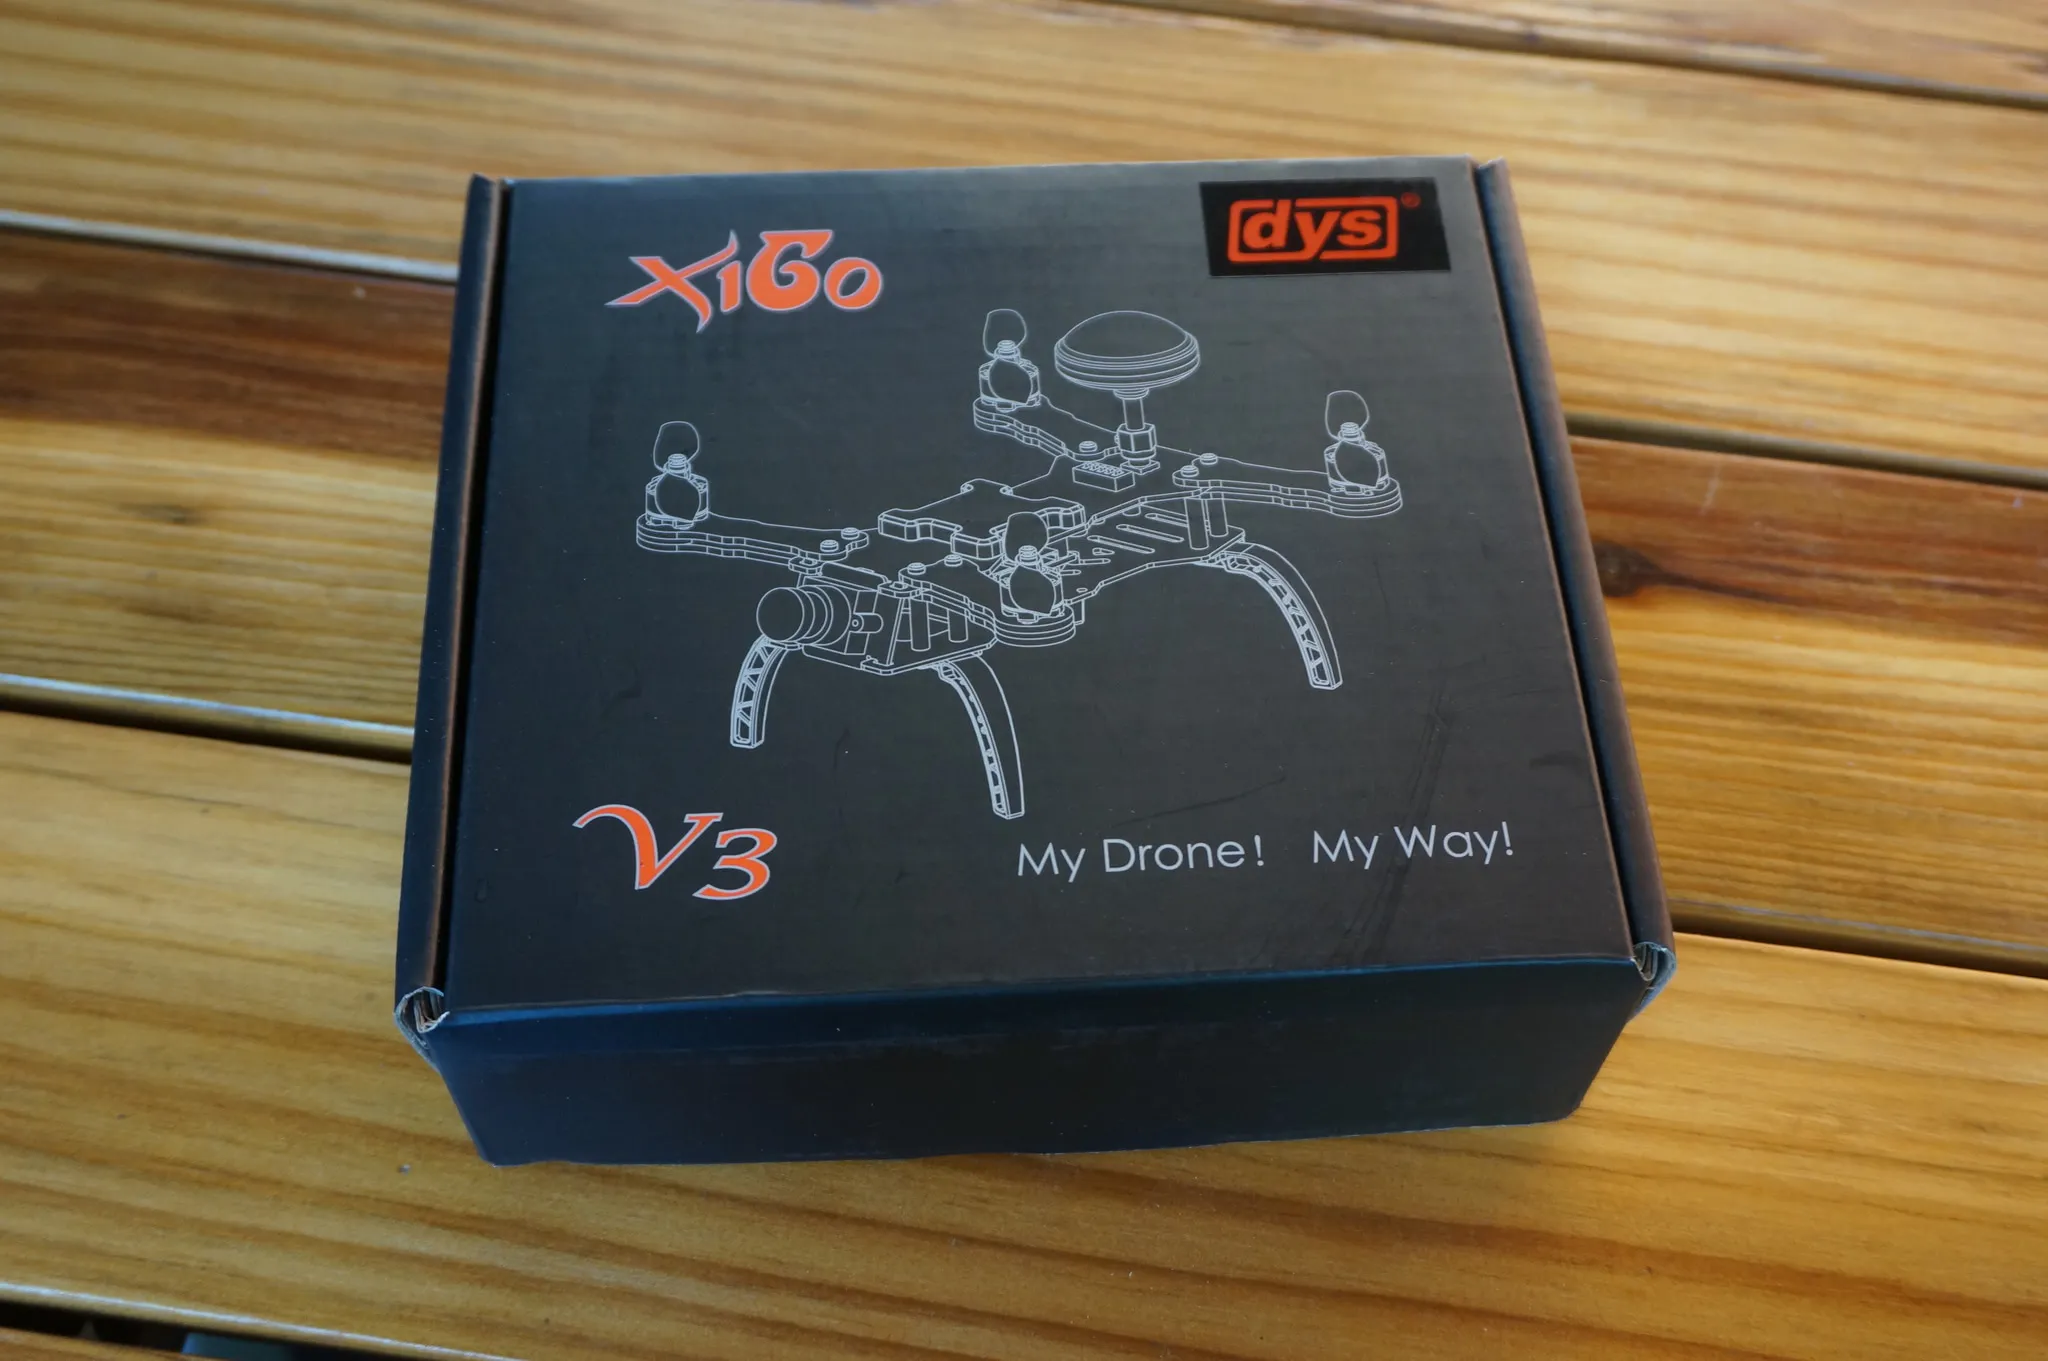
DYS X160 v3
This is a review and setup guide for the DYS x160 v3 miniquad.
Summary
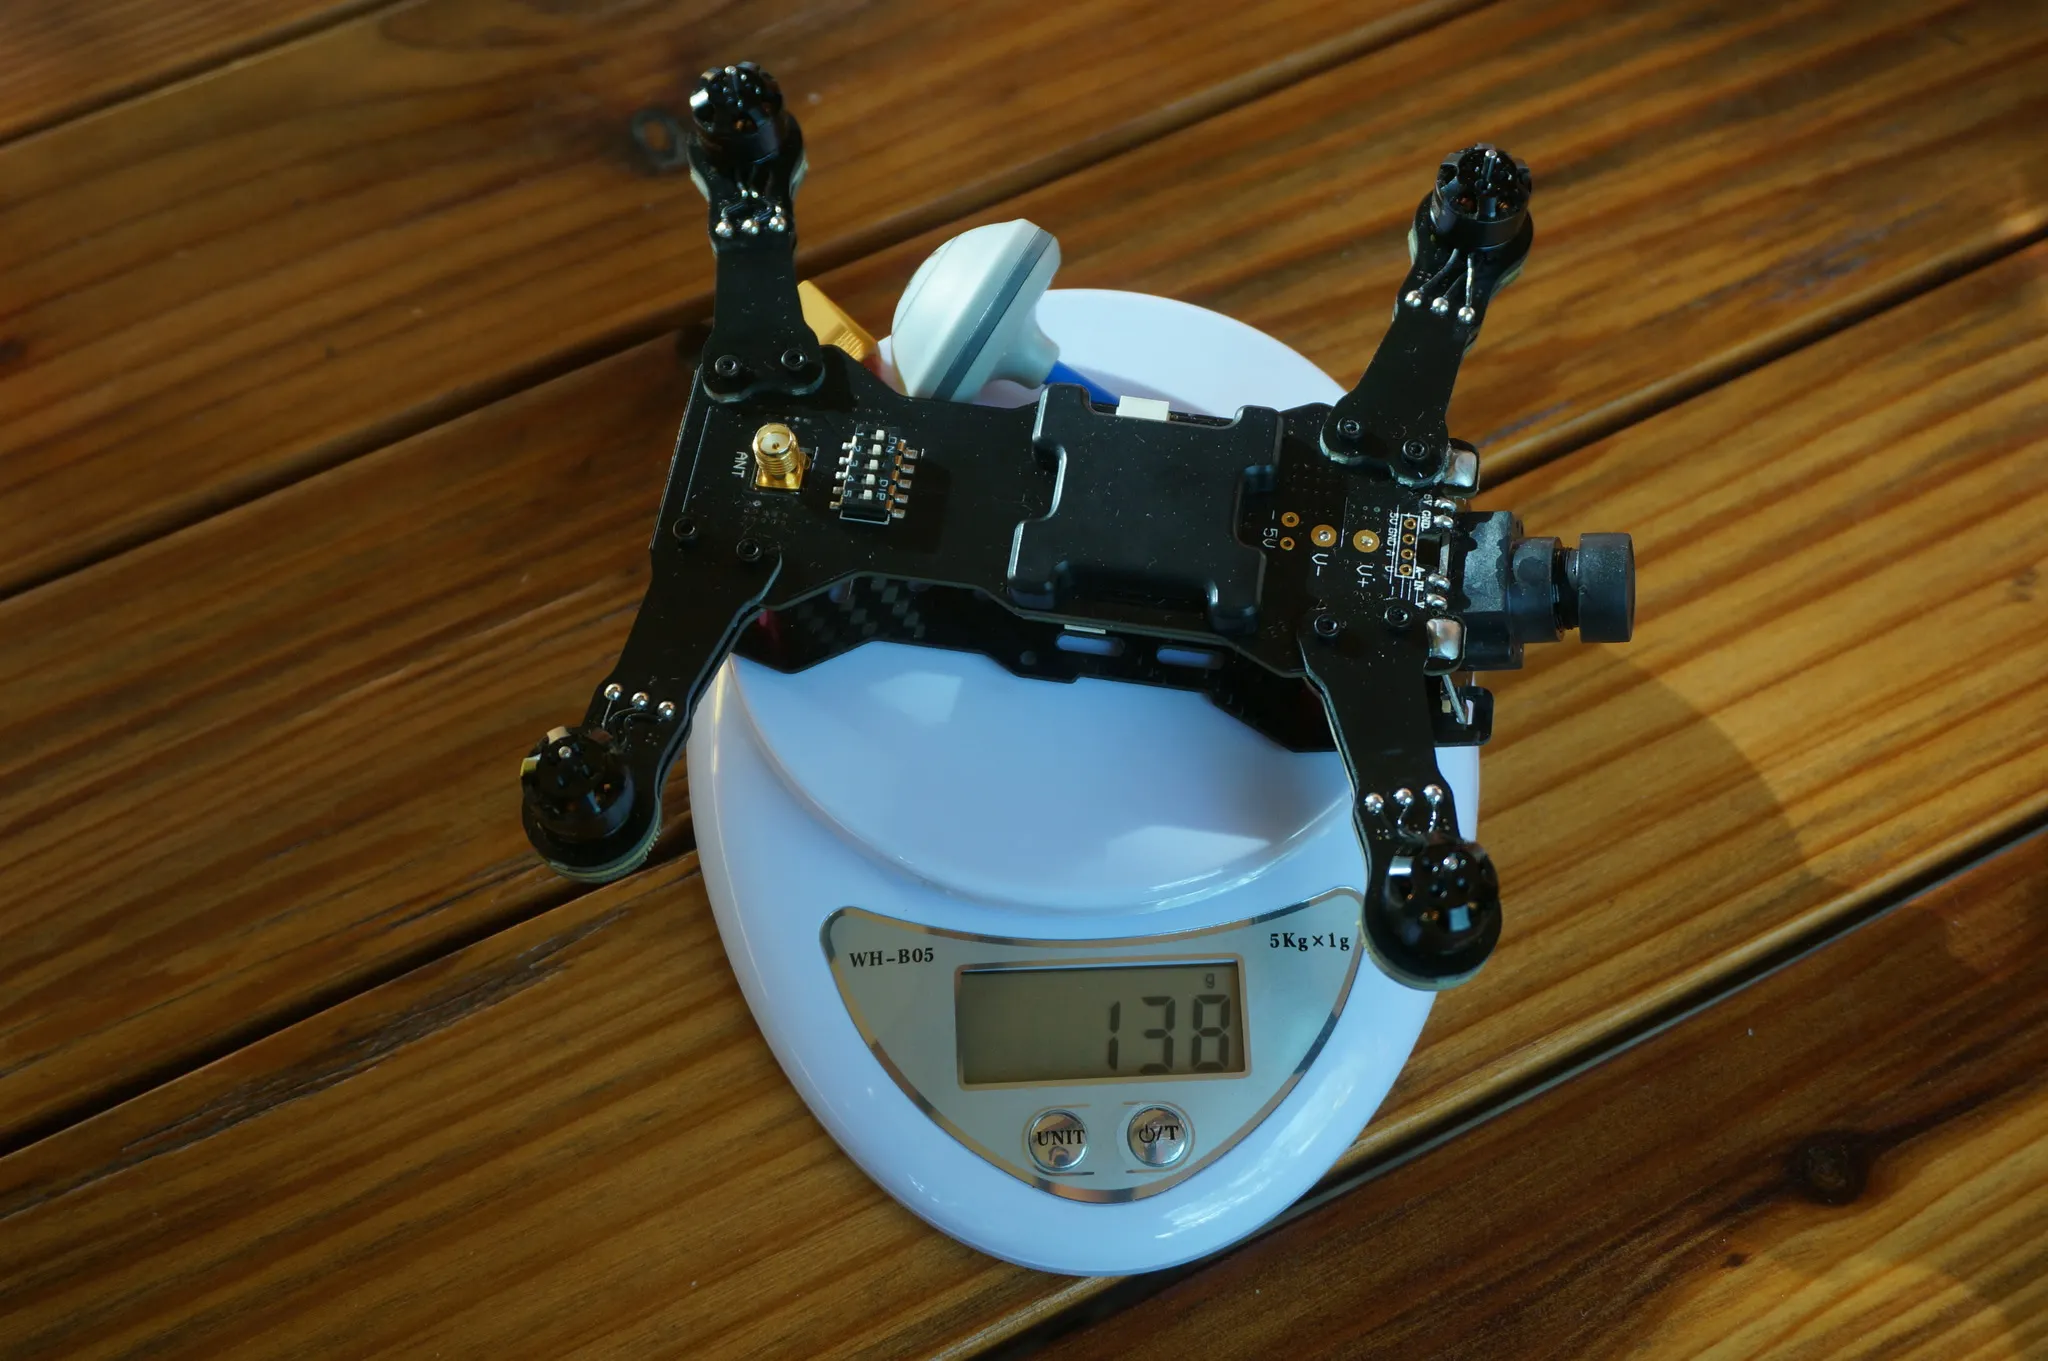
This is a fun little miniquad and at 138g without a battery, no registration (in the USA) is required to fly. The quad itself is great value at a little over $100 on banggood.com. It is quick and nimble on BetaFlight 2.7 and with the un-changeable amount of camera up-tilt, it might be a little much for a beginner, but for a second quadcopter, this thing is fun! Compared to the
I like the really small size, but it’s not big enough to carry an HD camera.
The smaller motors mean that we can’t run the standard super-durable DYS Props and SMA adaptor on the top is likely to be pushed down into the frame in a moderate crash. I talk about this more in the strength section.
Overall, for the price, this little quad is a lot of fun. If you have the time and a little more cash, building a
Here is a sample of the video quality and flight capability running default PIDs with BetaFlight 2.7 and 3s 900mah battery:
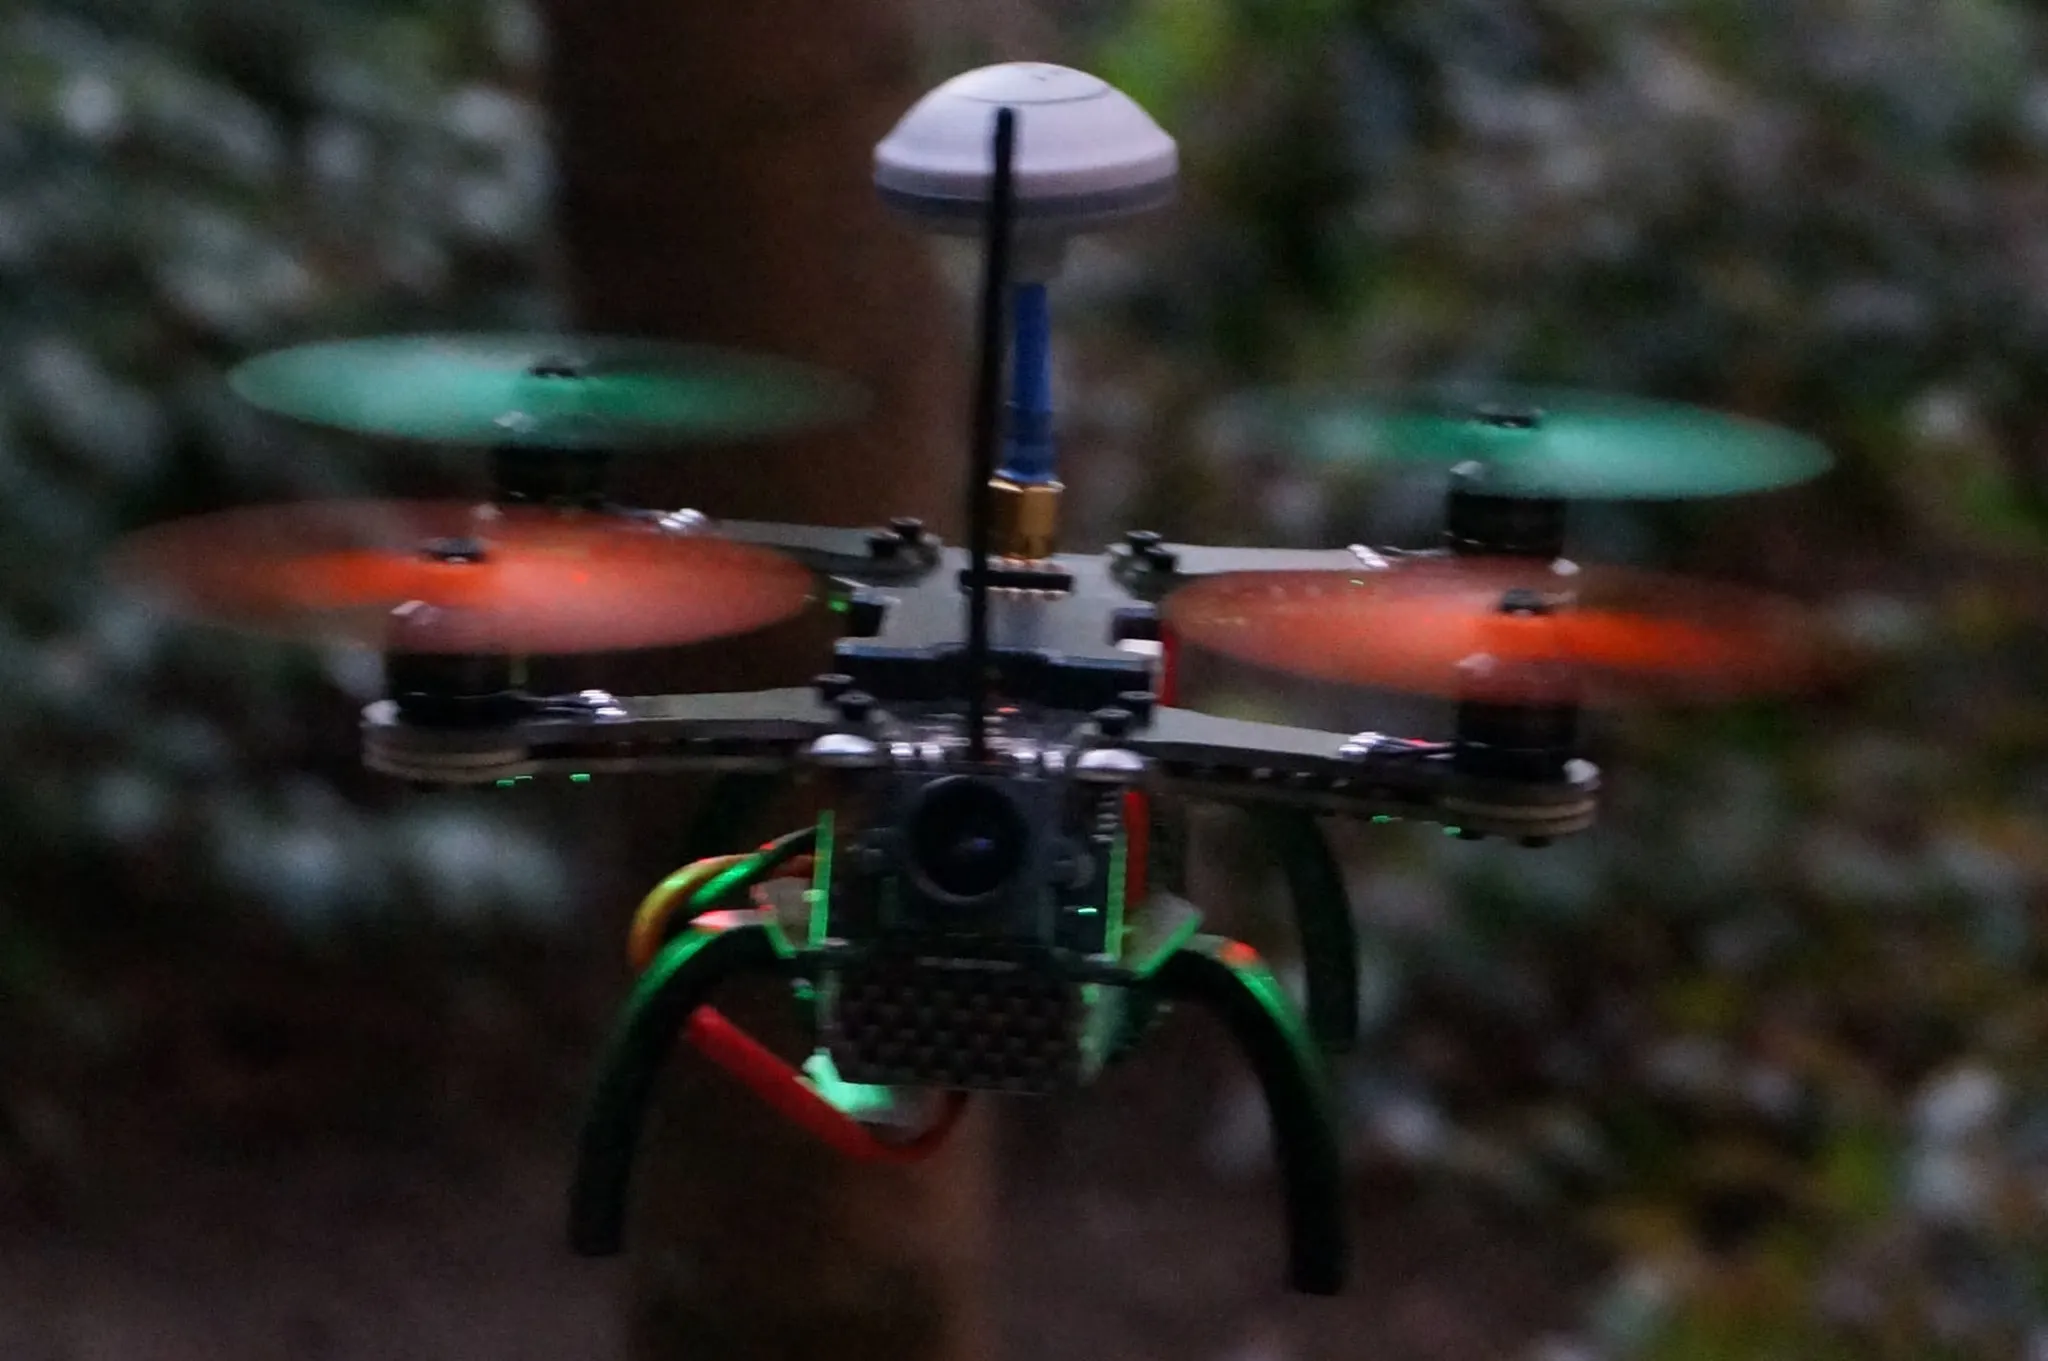
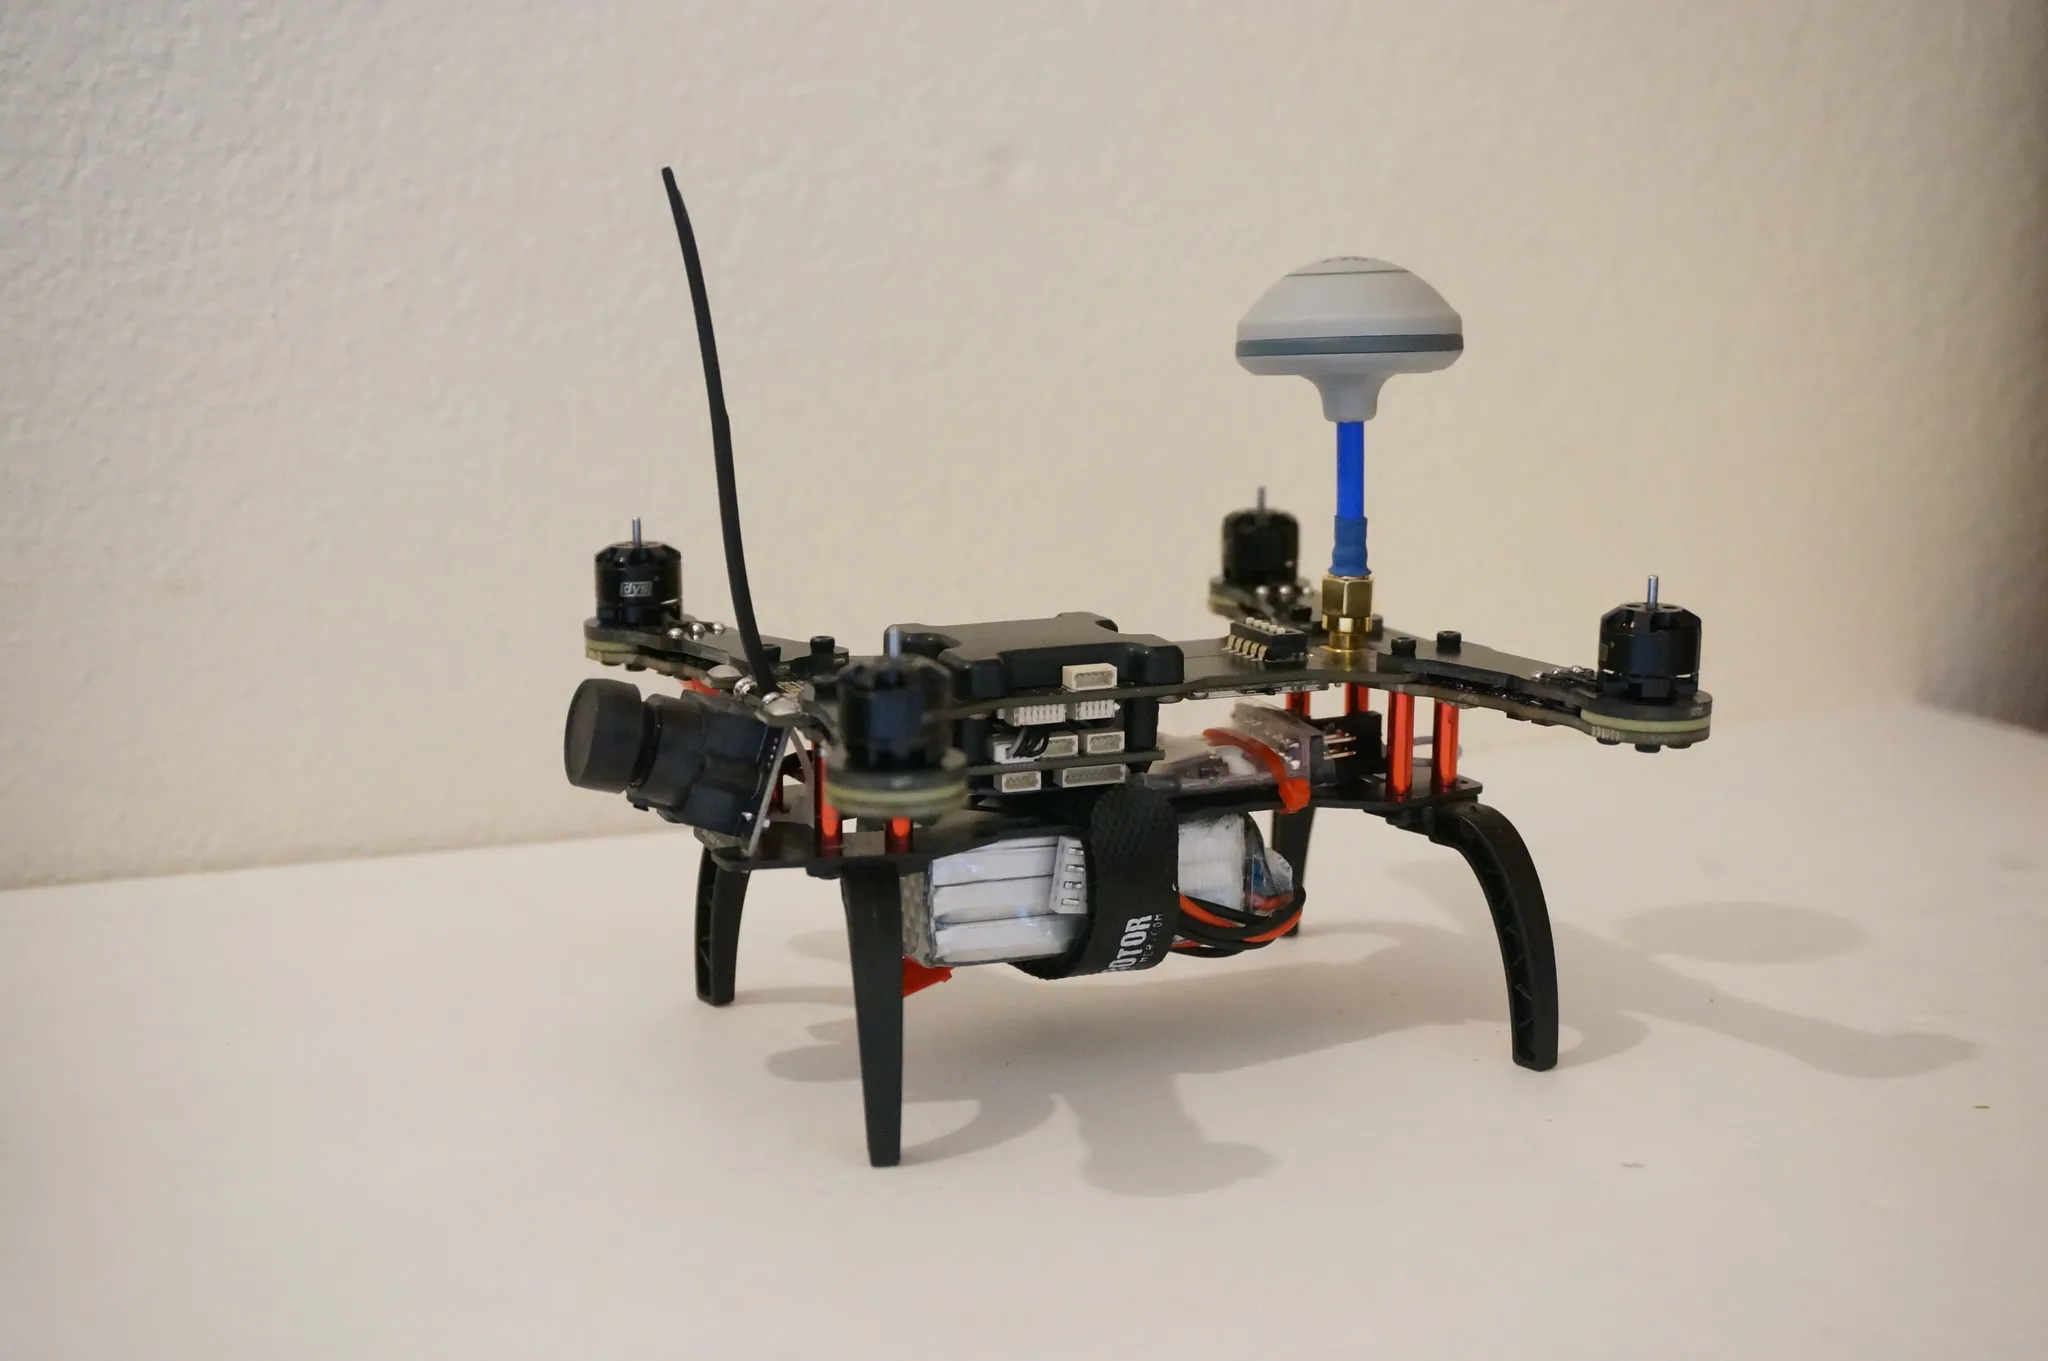
With my antenna in the front, it looks kinda like a unicorn:

Parts
Everything you need except the transmitter and receiver, battery and charger. You’ll also want some good goggles if you’re just getting started.
If you already have all these parts, get just the DYS x160 v3 miniquad for $115.99, which is an awesome price.
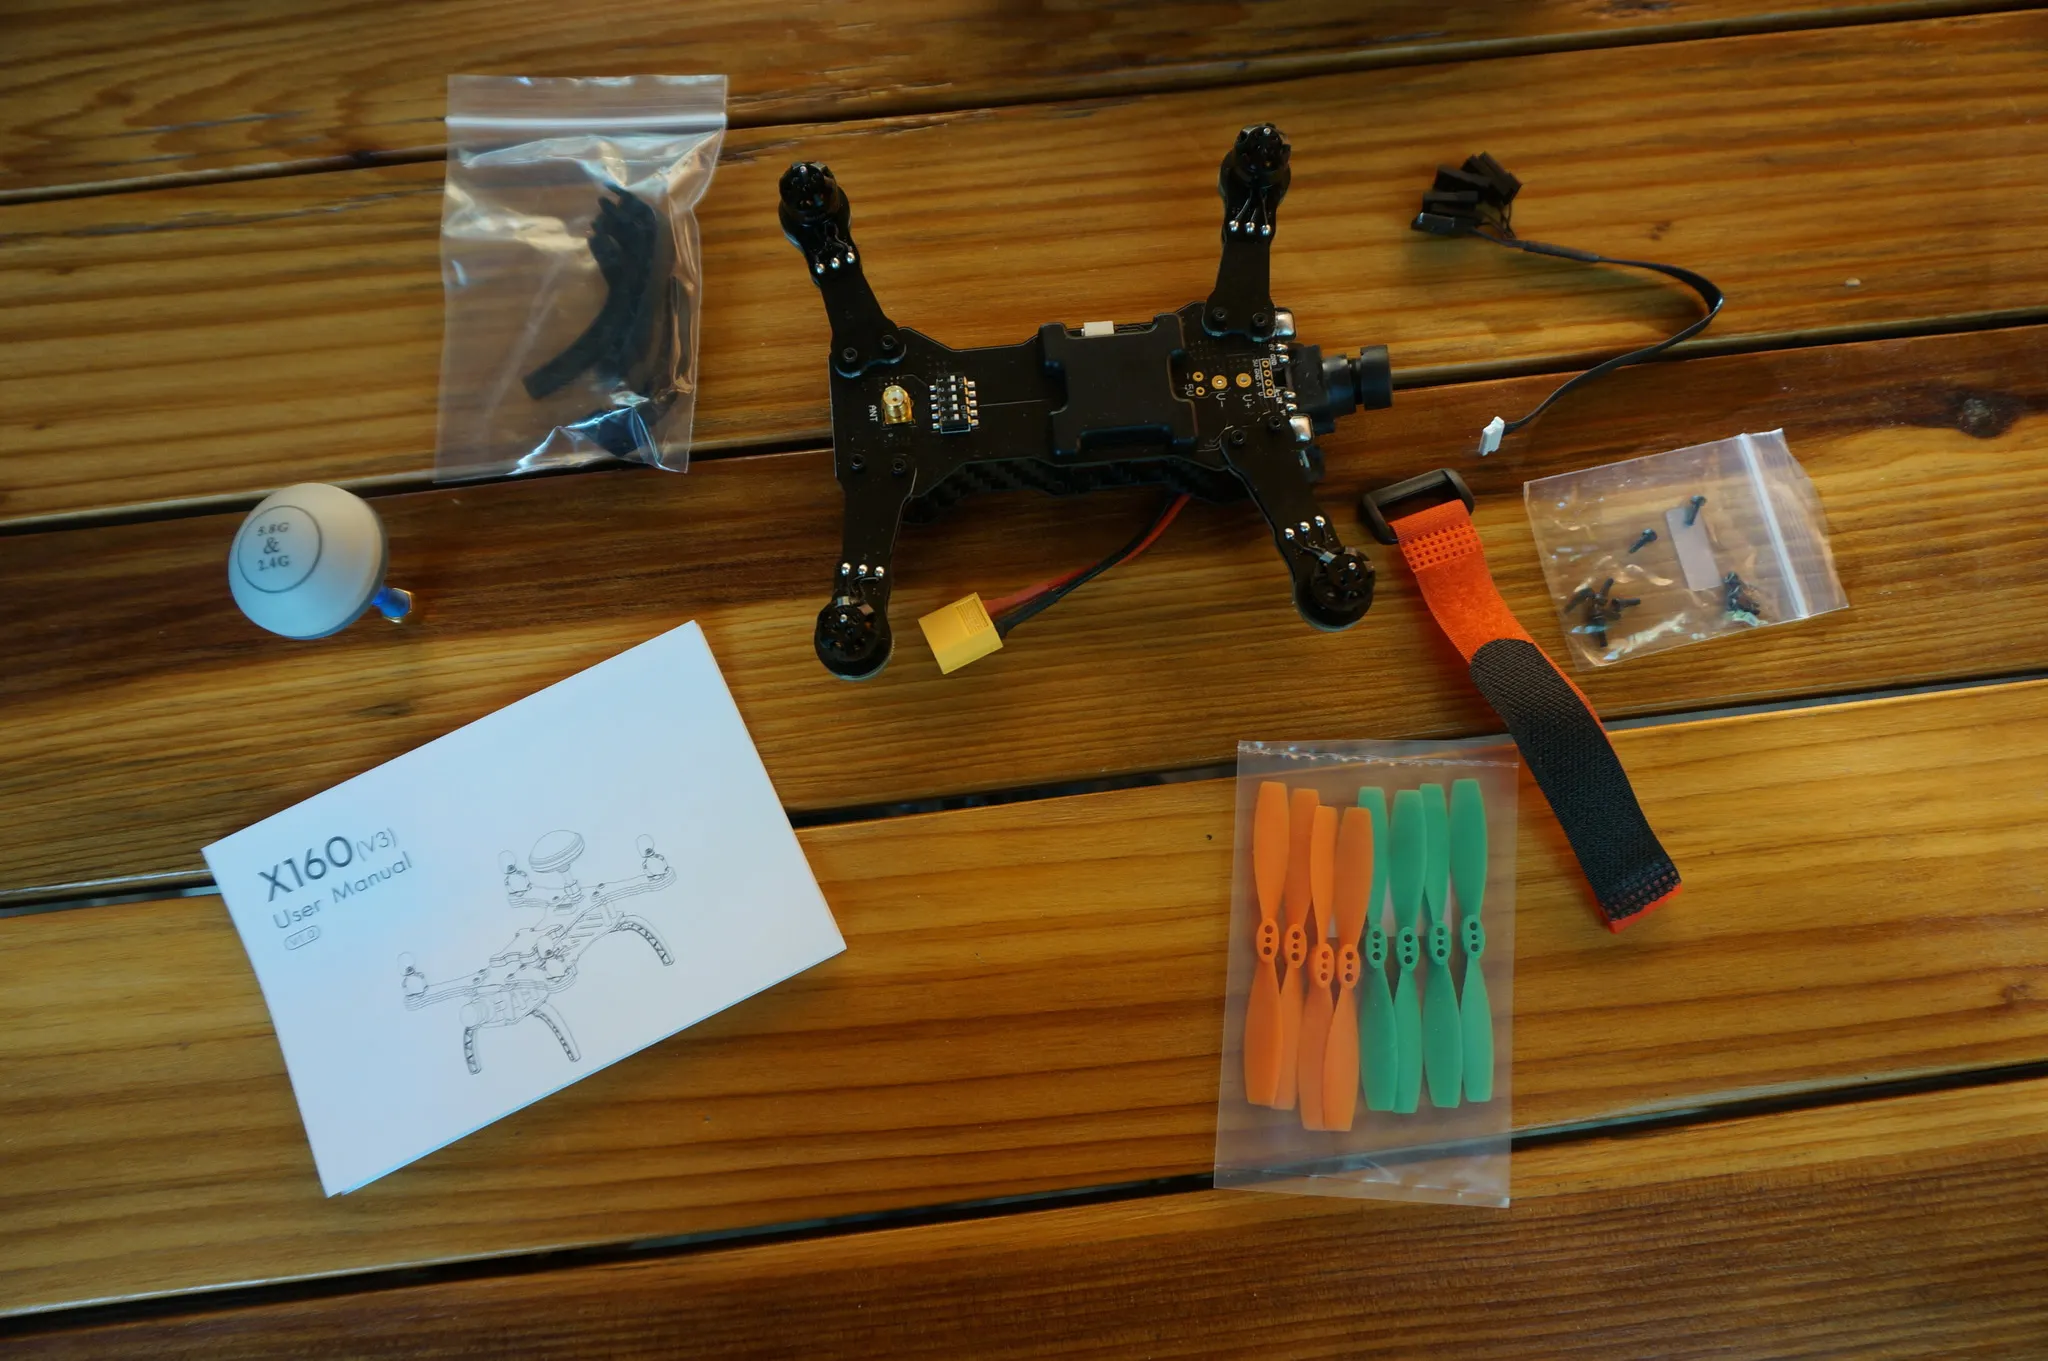
Unboxing
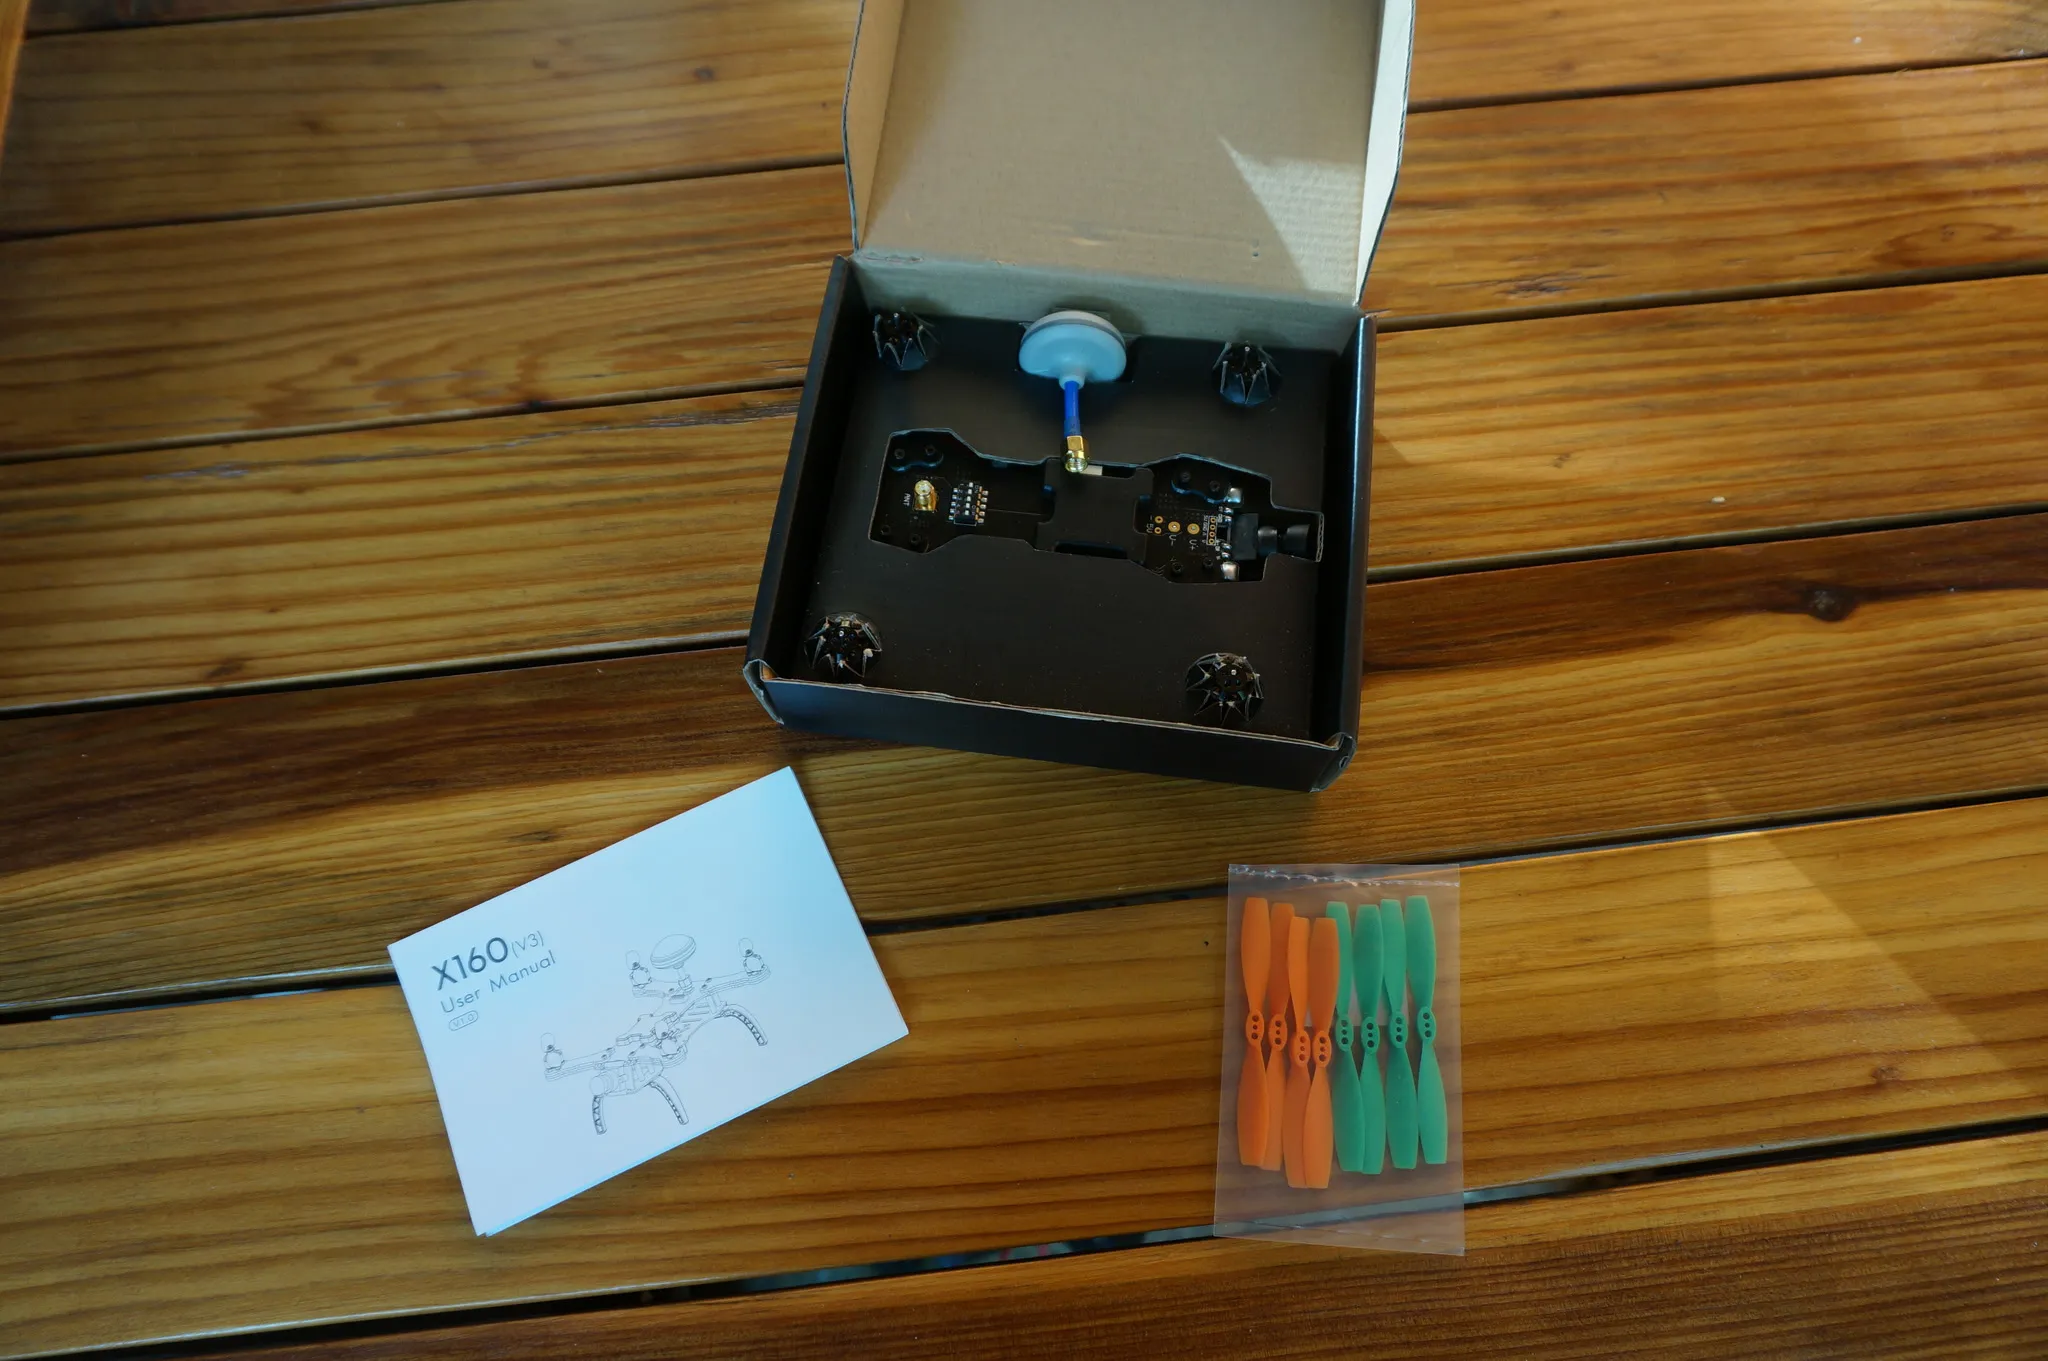
It comes with an antenna, landing gear, battery strap, PWM receiver breakout cable, some extra screws 8 3030 props and user manual.
Opening up the antenna, we see this is not a circularly polarized cloverleaf, but a circularly polarized quadrifilar helix antenna. Thanks to AA4HA over on qrz.com for helping identify it. Since it’s circularly polarized, it should work fine with a normal cloverleaf on the receiving end.

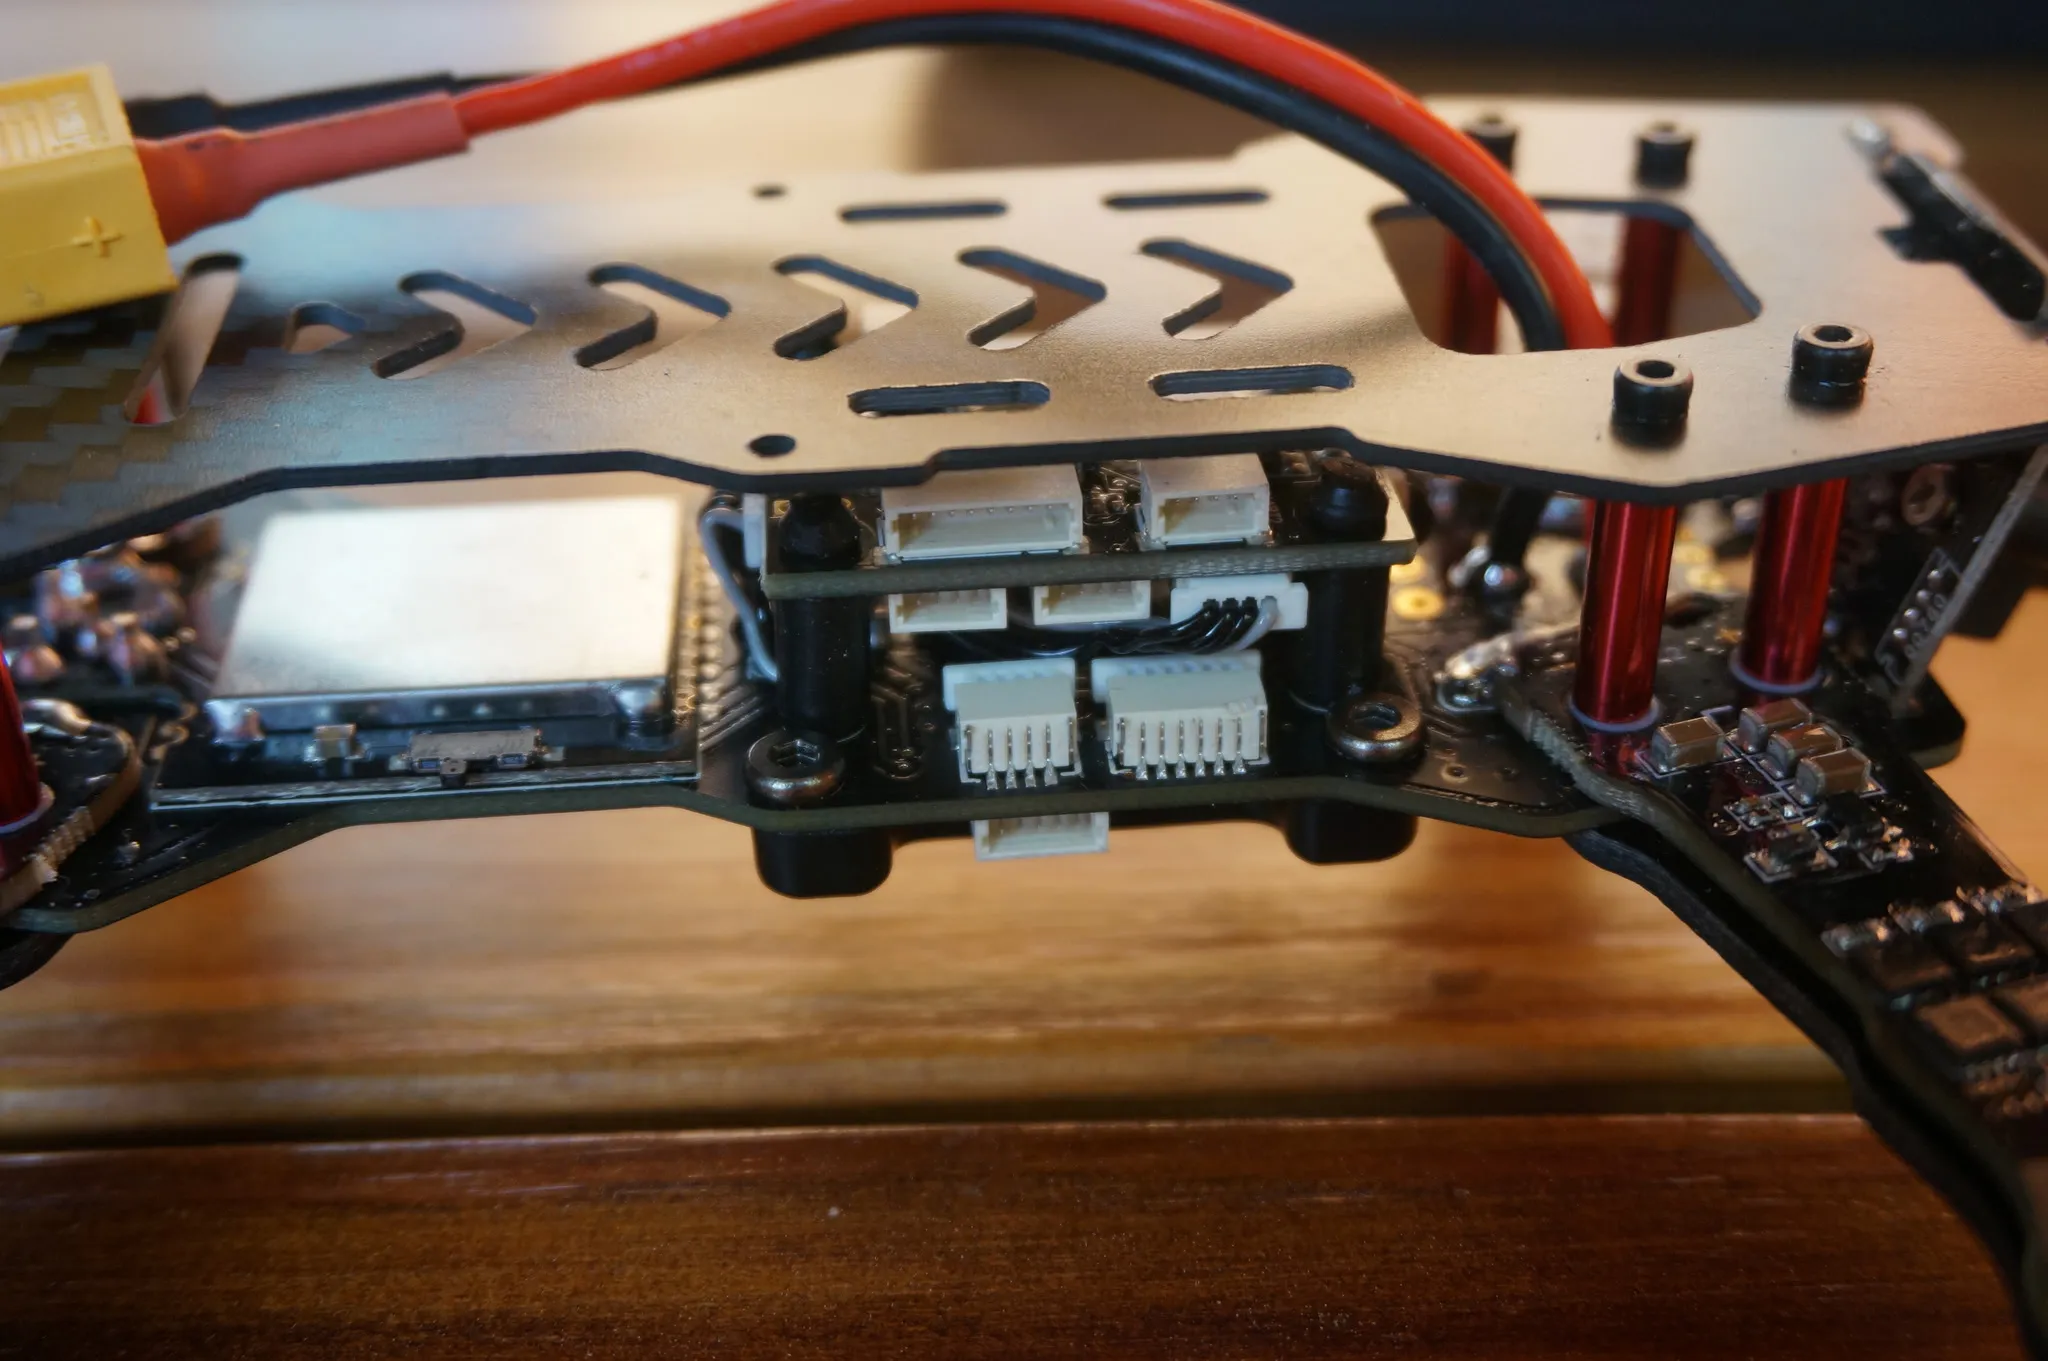
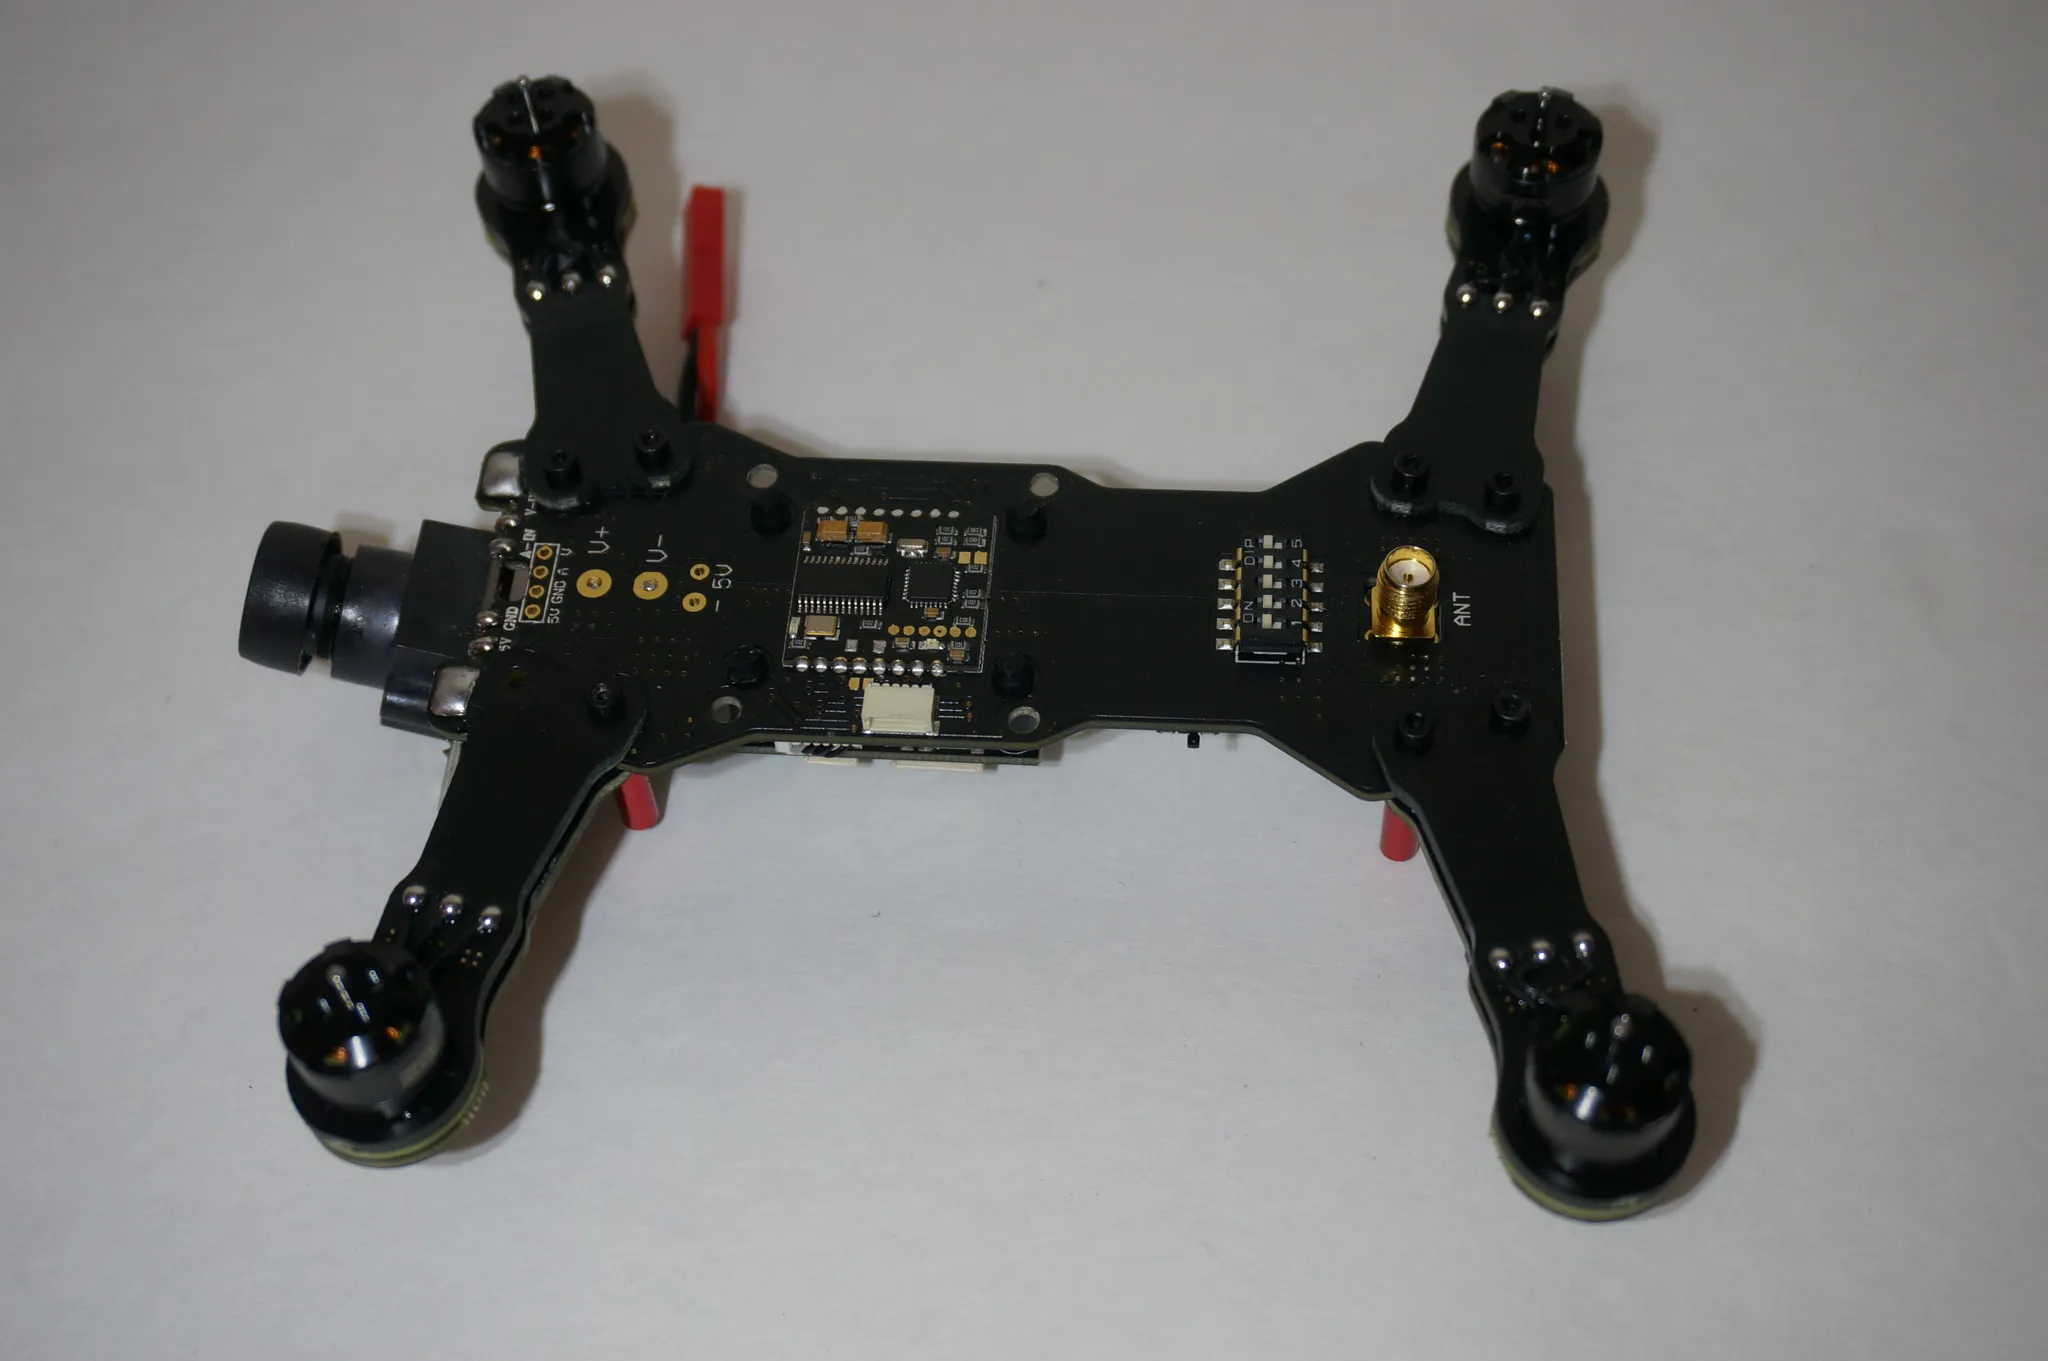
Interestingly, the flight controller is not hard mounted. It’s soft mounted on these rubbery pegs.
To protect the fpv video transmitter, be sure to attach the FPV antenna before powering on the quad copter.
It comes pre-loaded with CleanFlight 1.16, when you upgrade to BetaFligh, you’ll want to use the SPRF3 hex file.

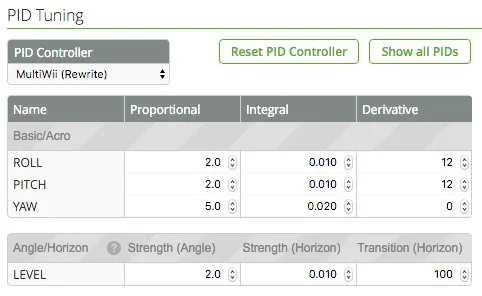
Here are the default PIDs, looks like it’s set to use the REWRITE pid controller by default. Since the data flash has some data, it makes me think they flight-tested this before sending it, cool!
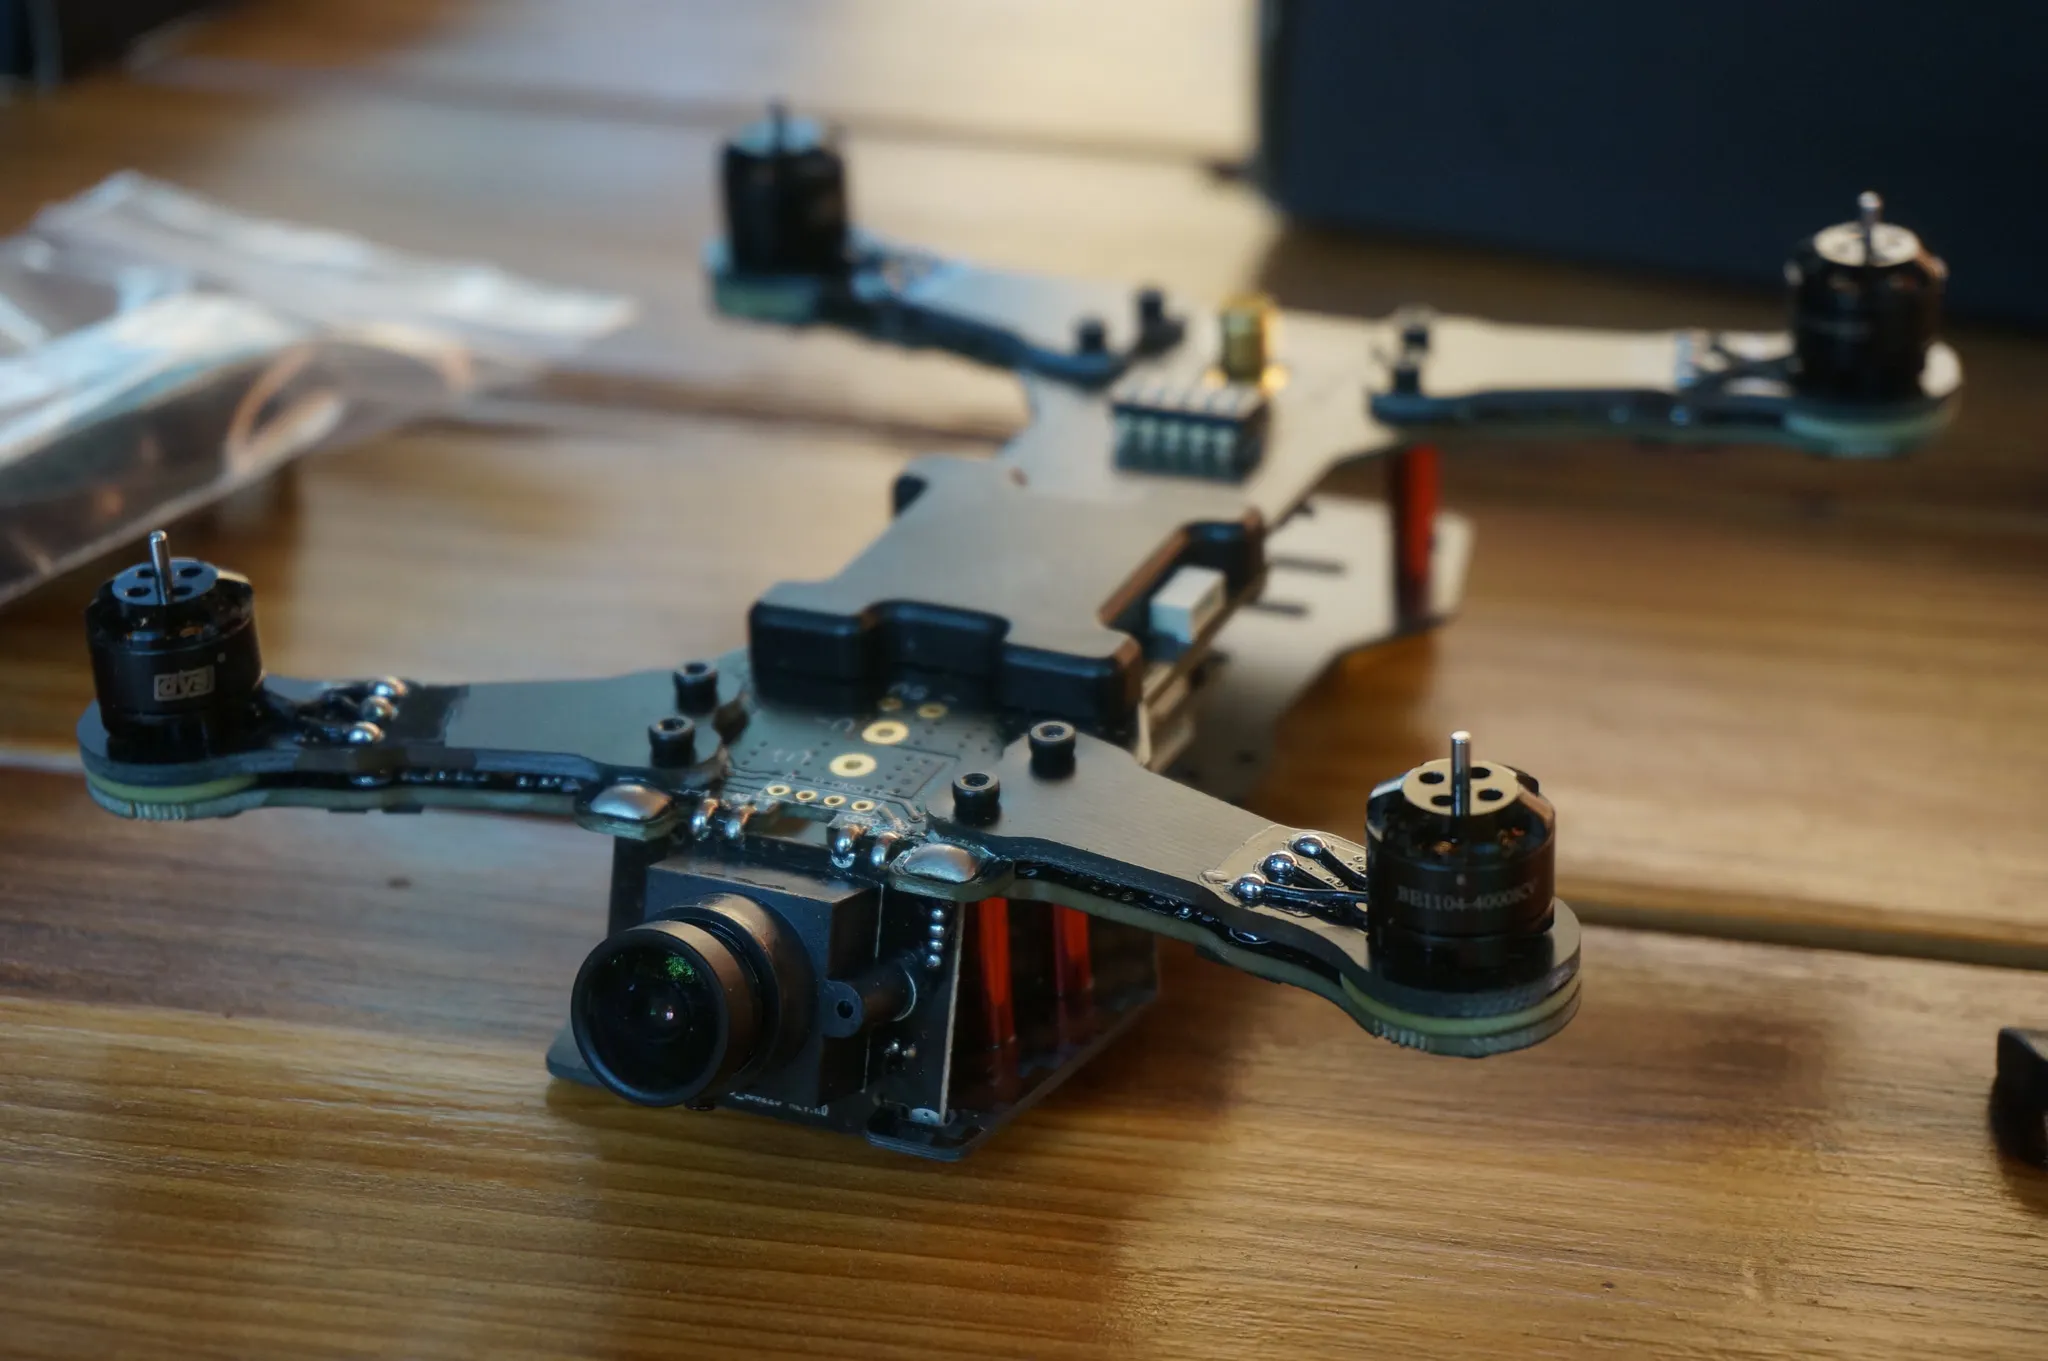
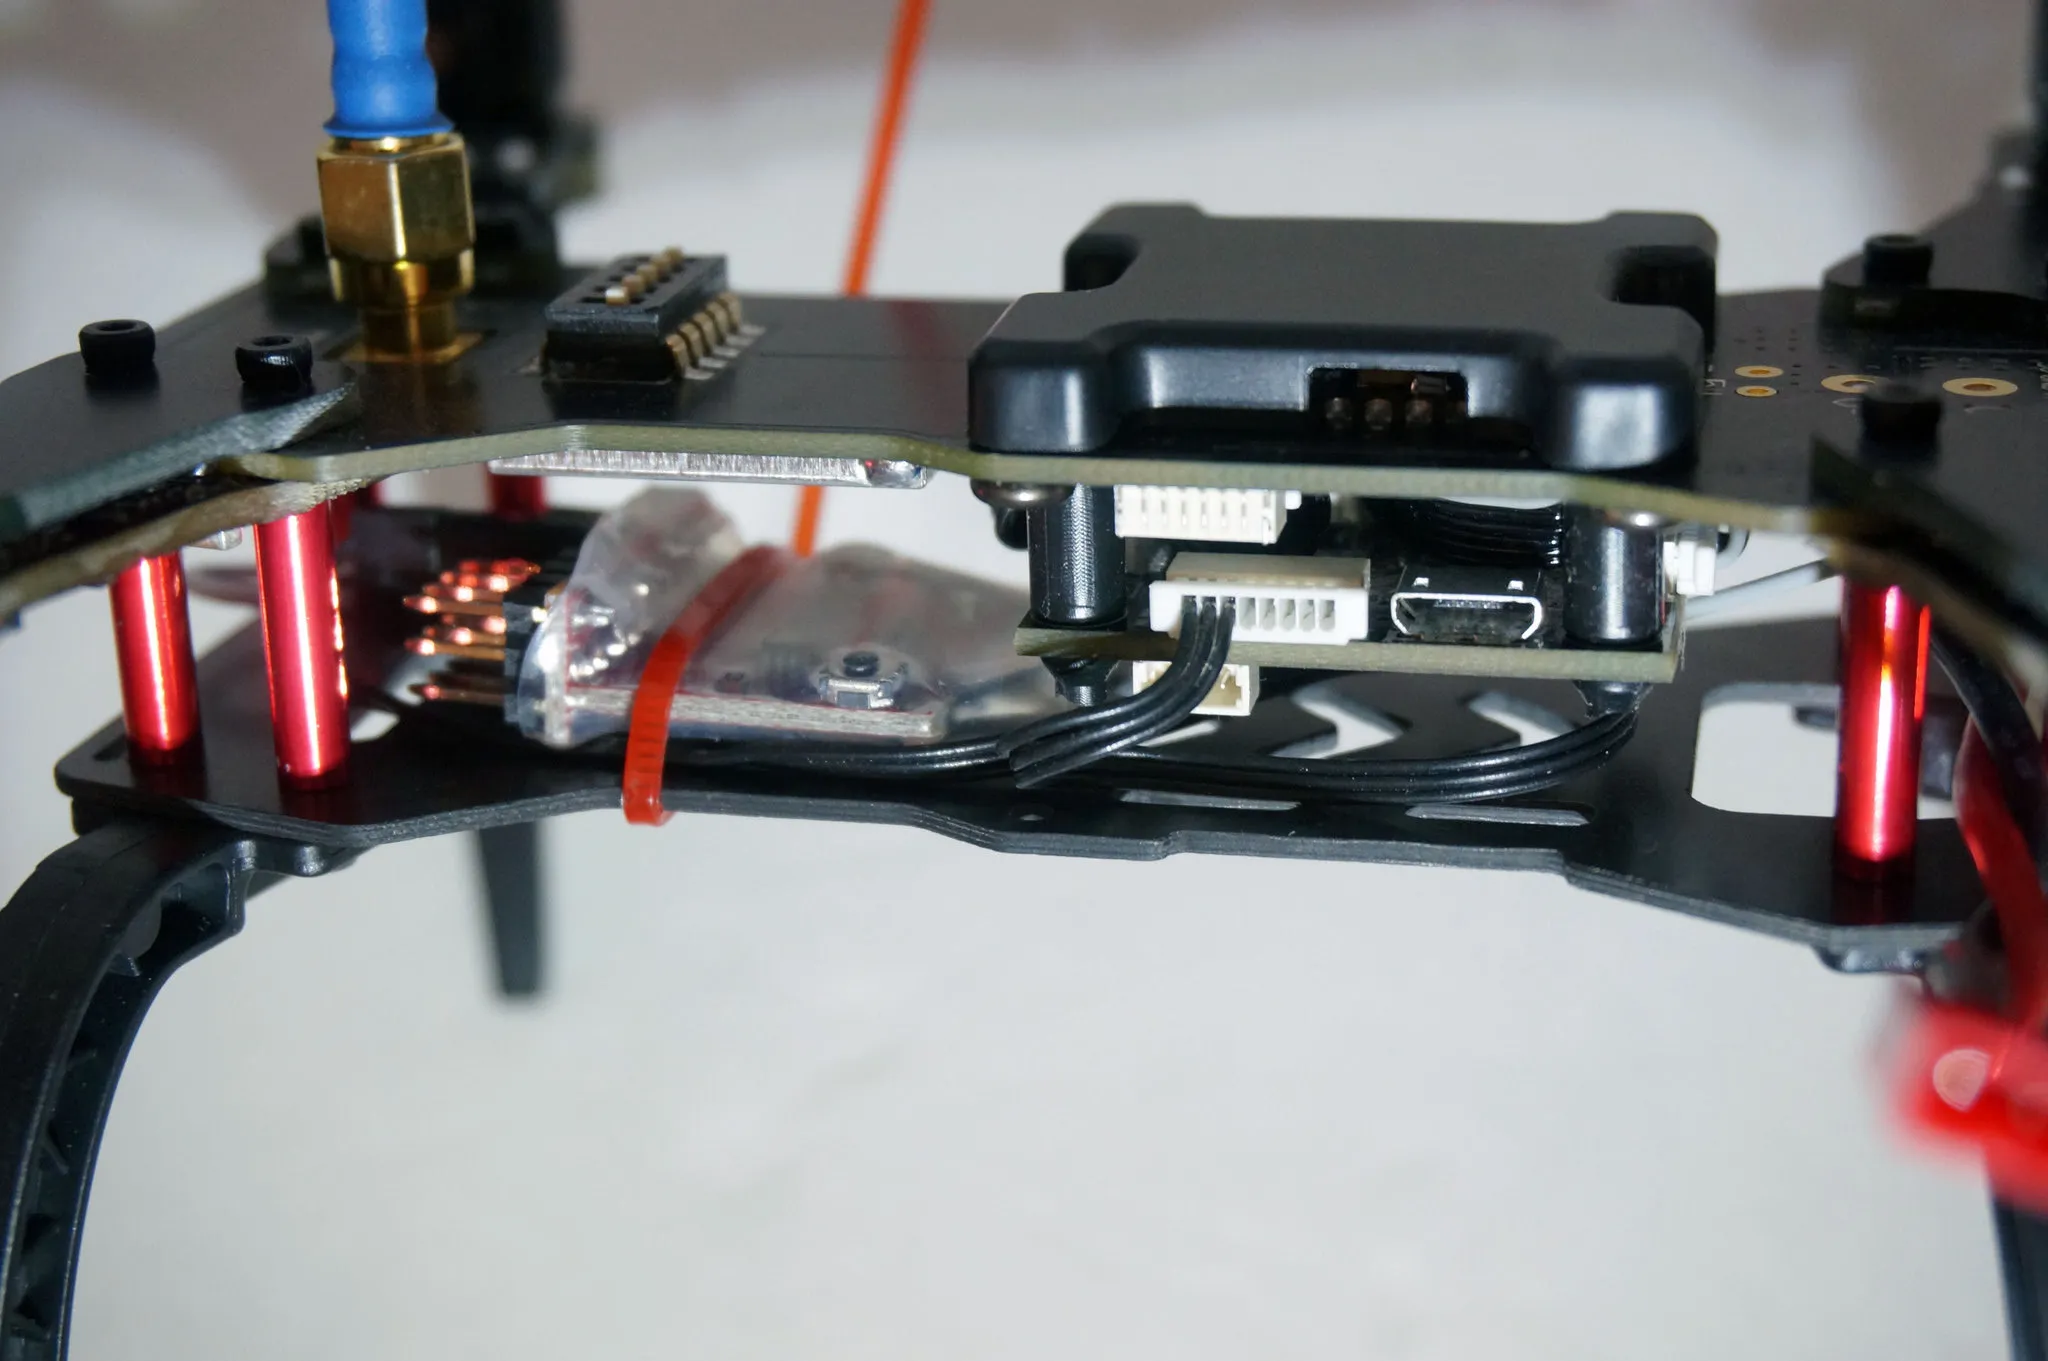
The flight controller is soft-mounted on rubber standoffs. The battery plug is an XT-60. You can see the video transmitter is covered by a metal shield, per the usual:
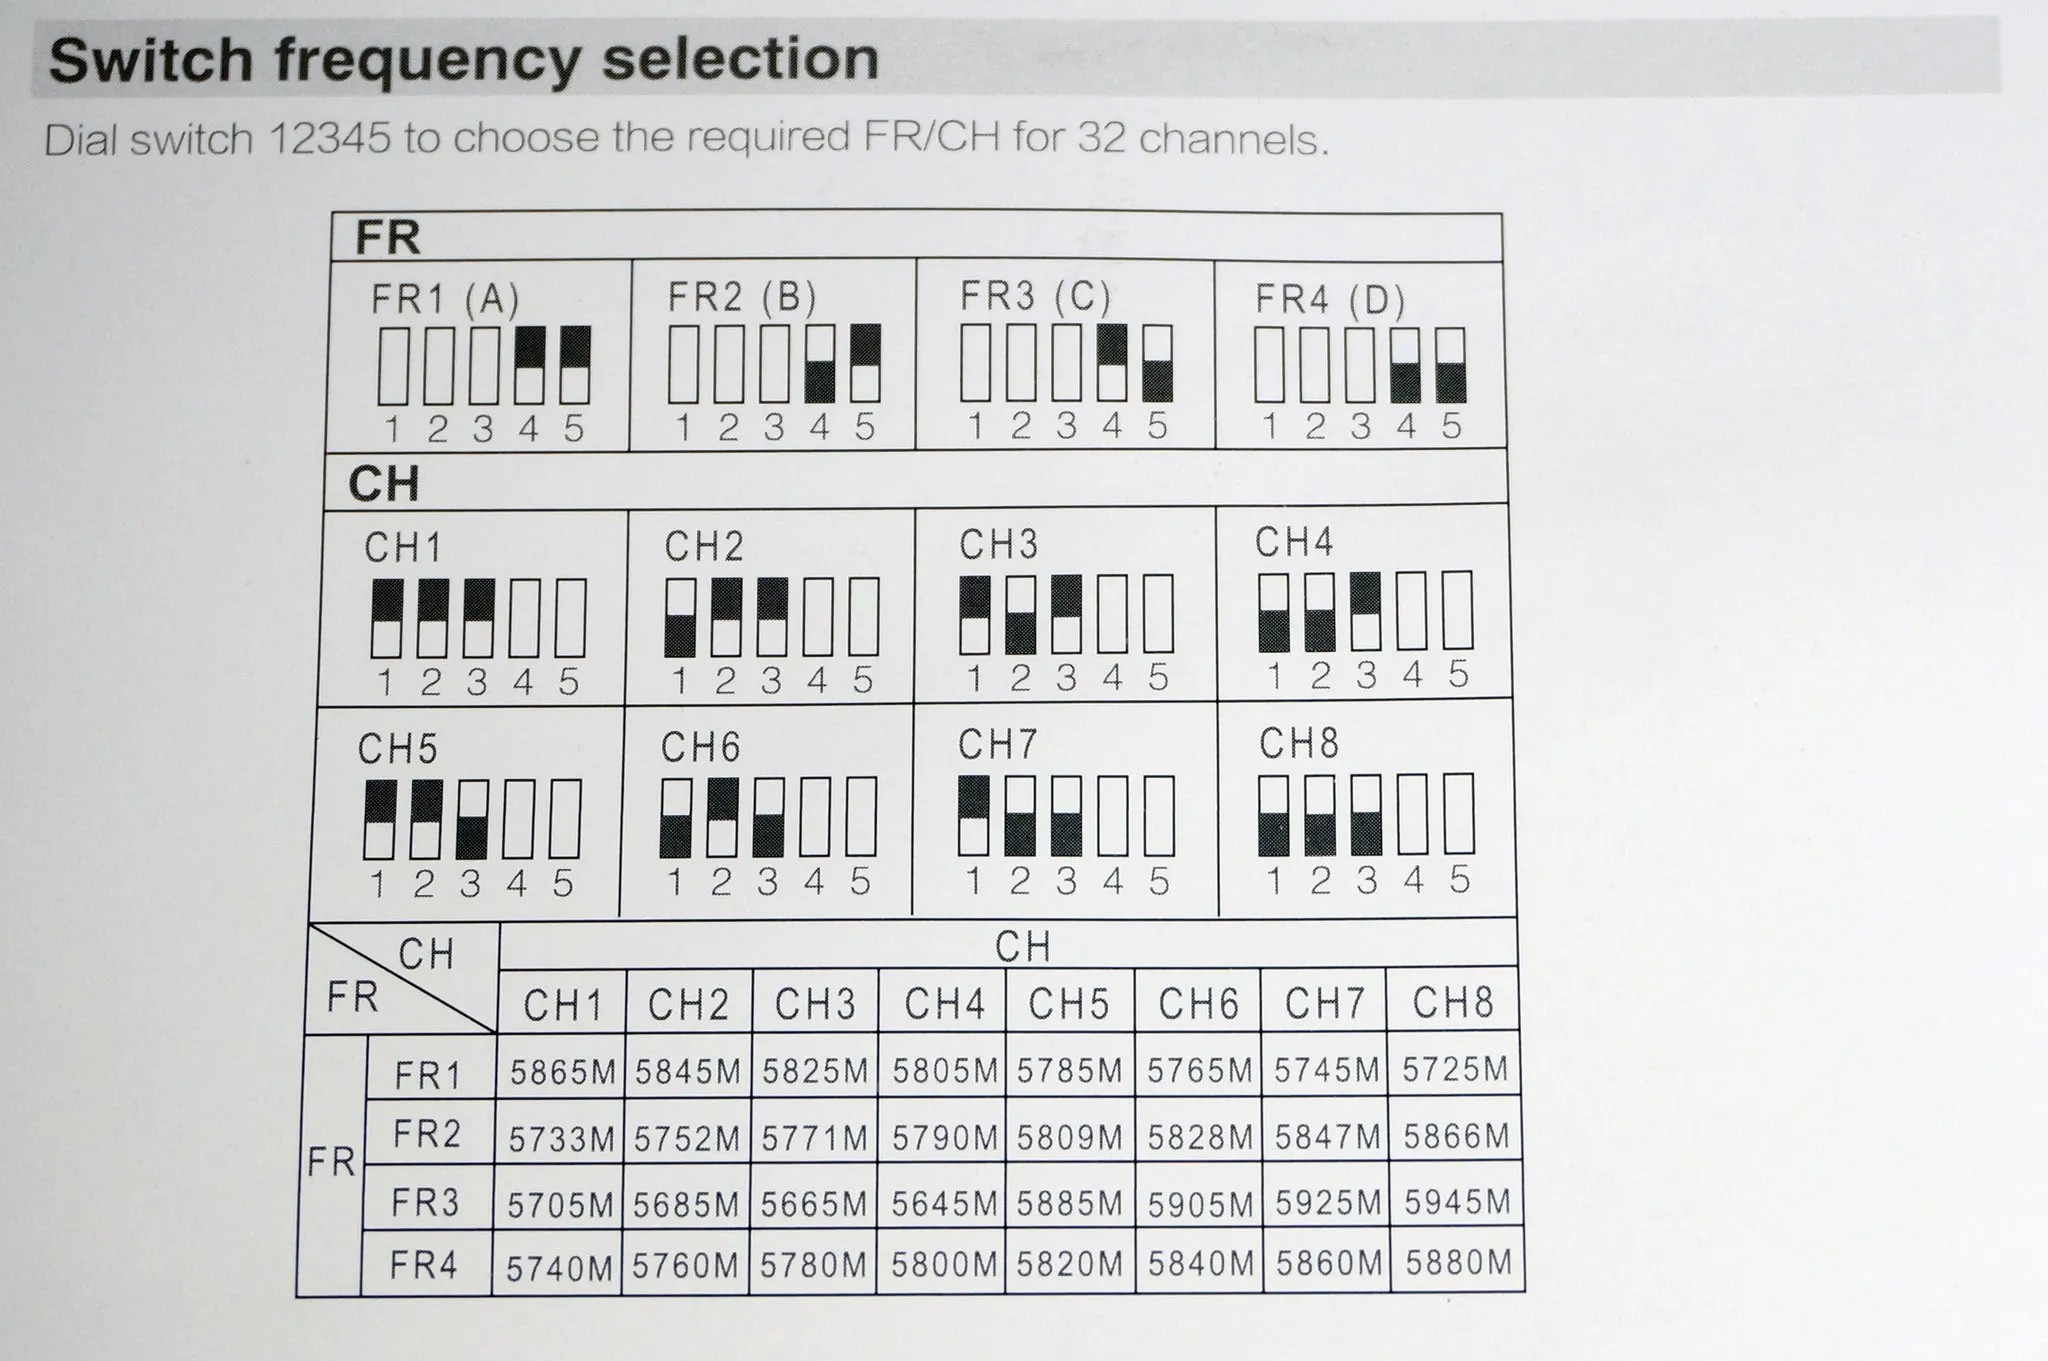
DIP switches to change the video transmitter channels are on the top, which is convenient. There is a standard micro USB port on the other side of the flight controller.
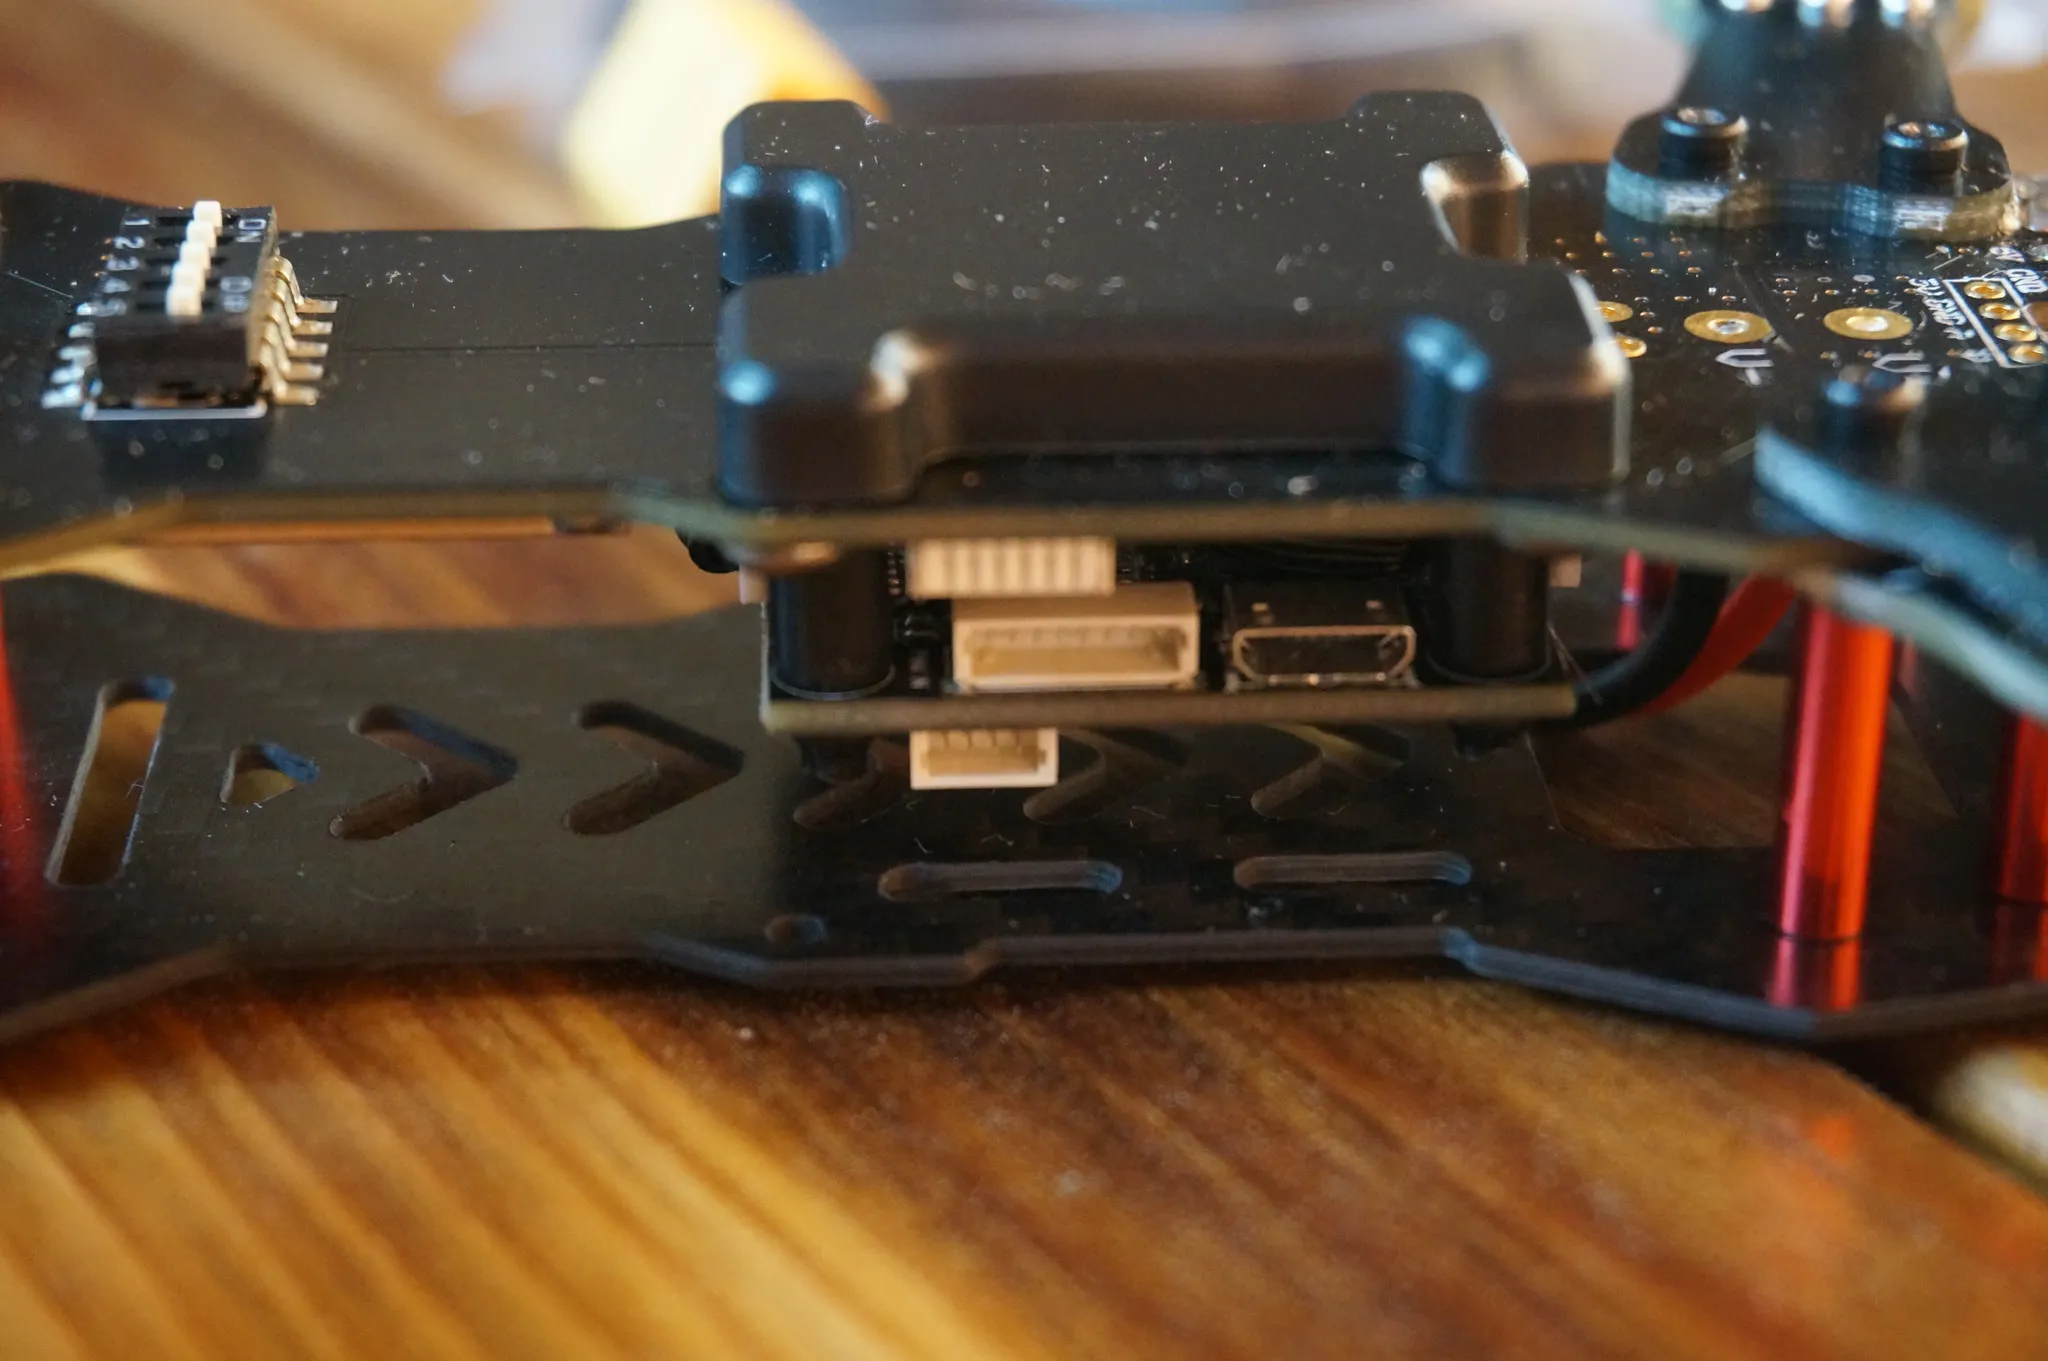
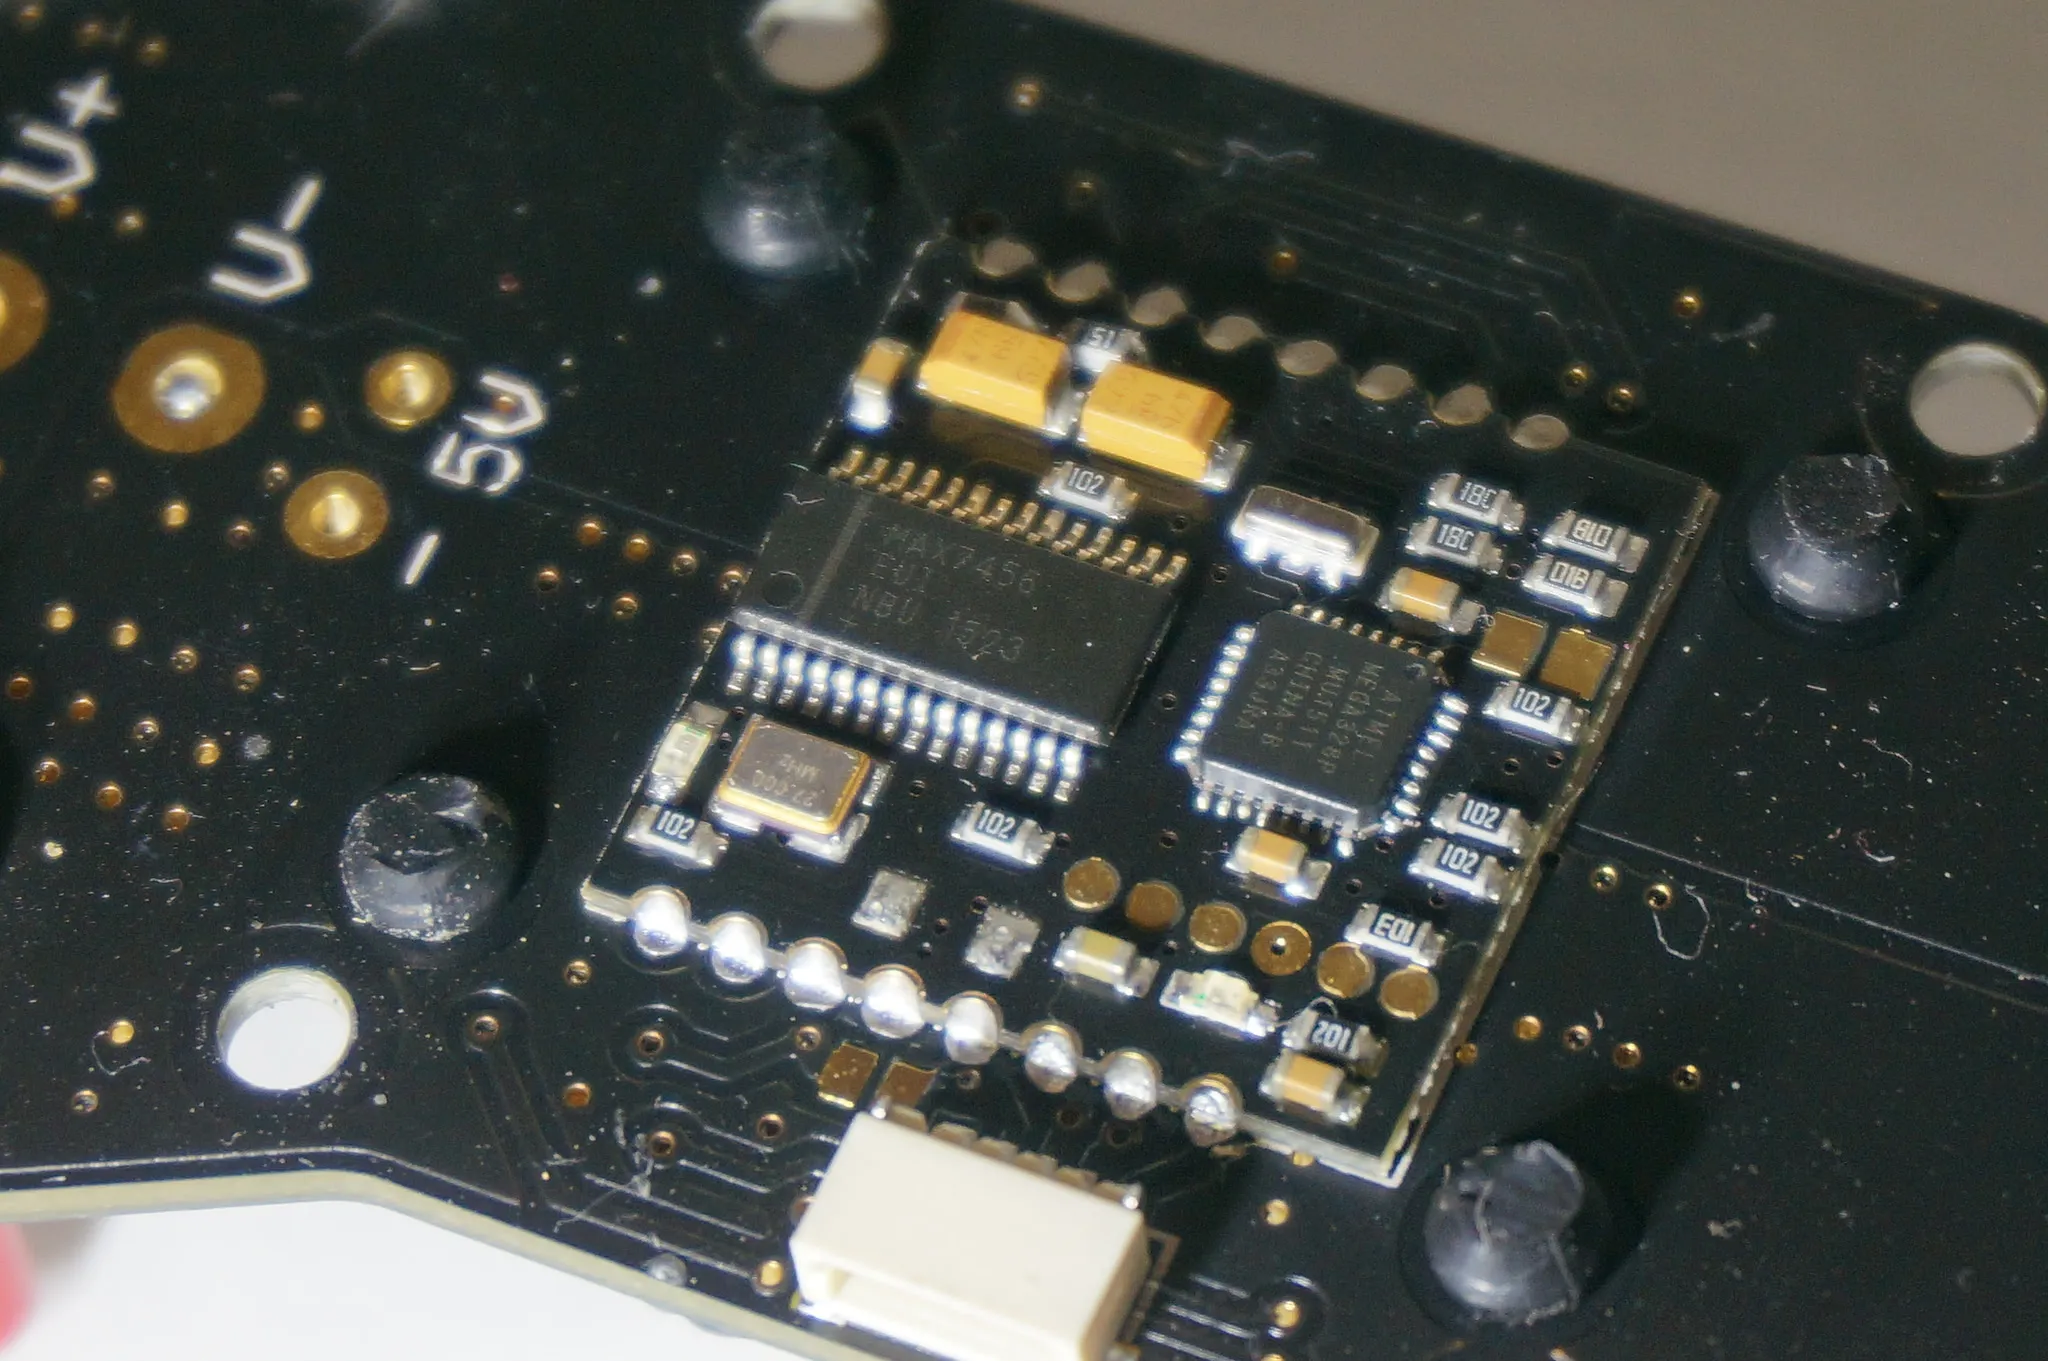
Under that plastic piece on top is a MinimOSD:
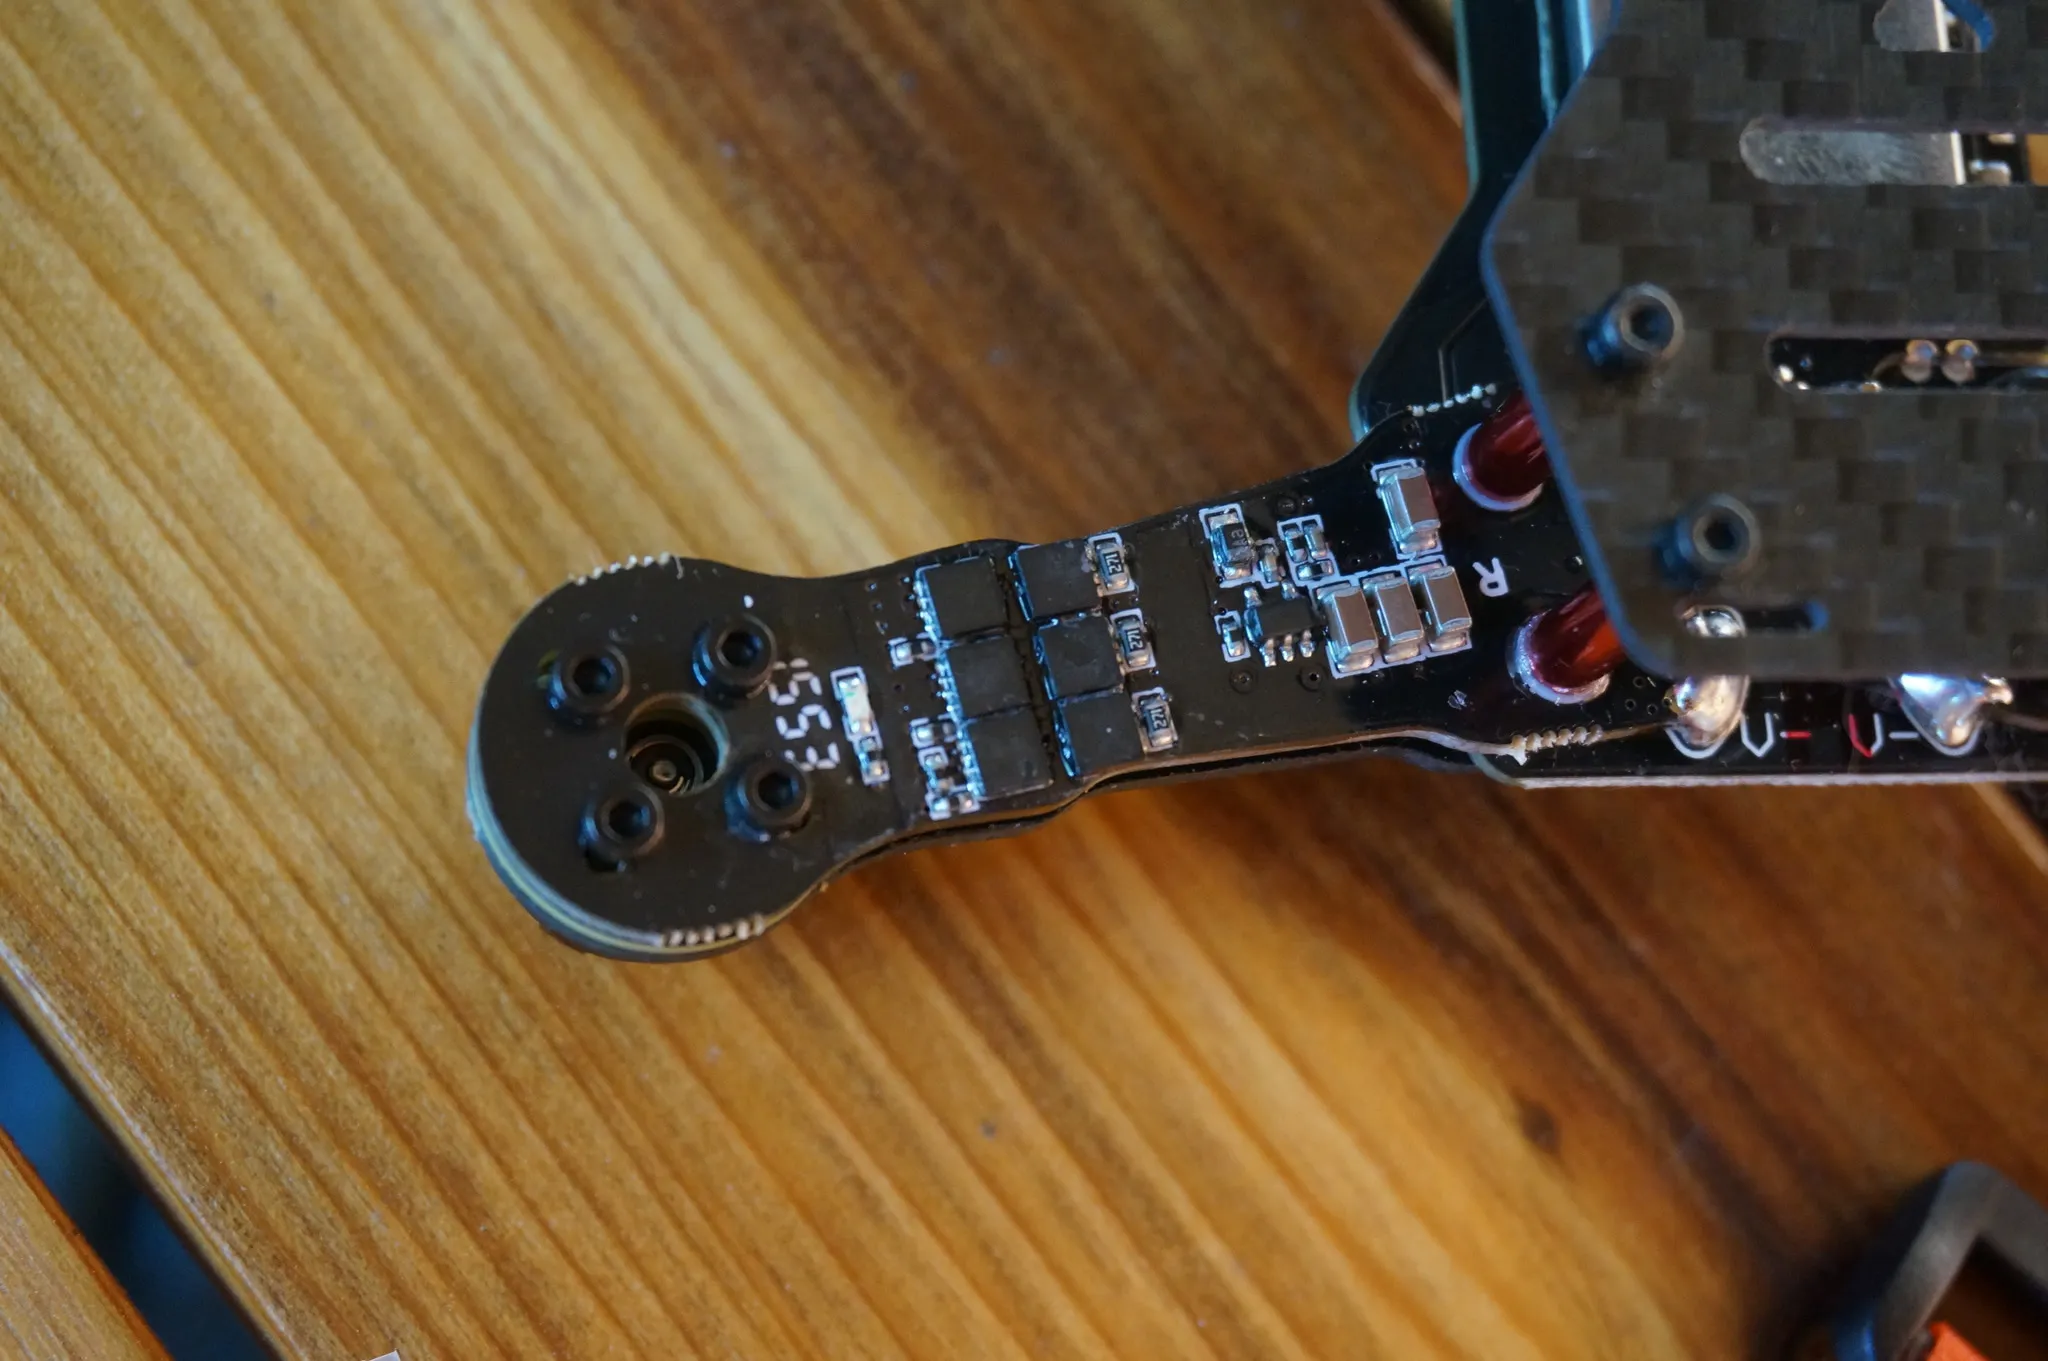
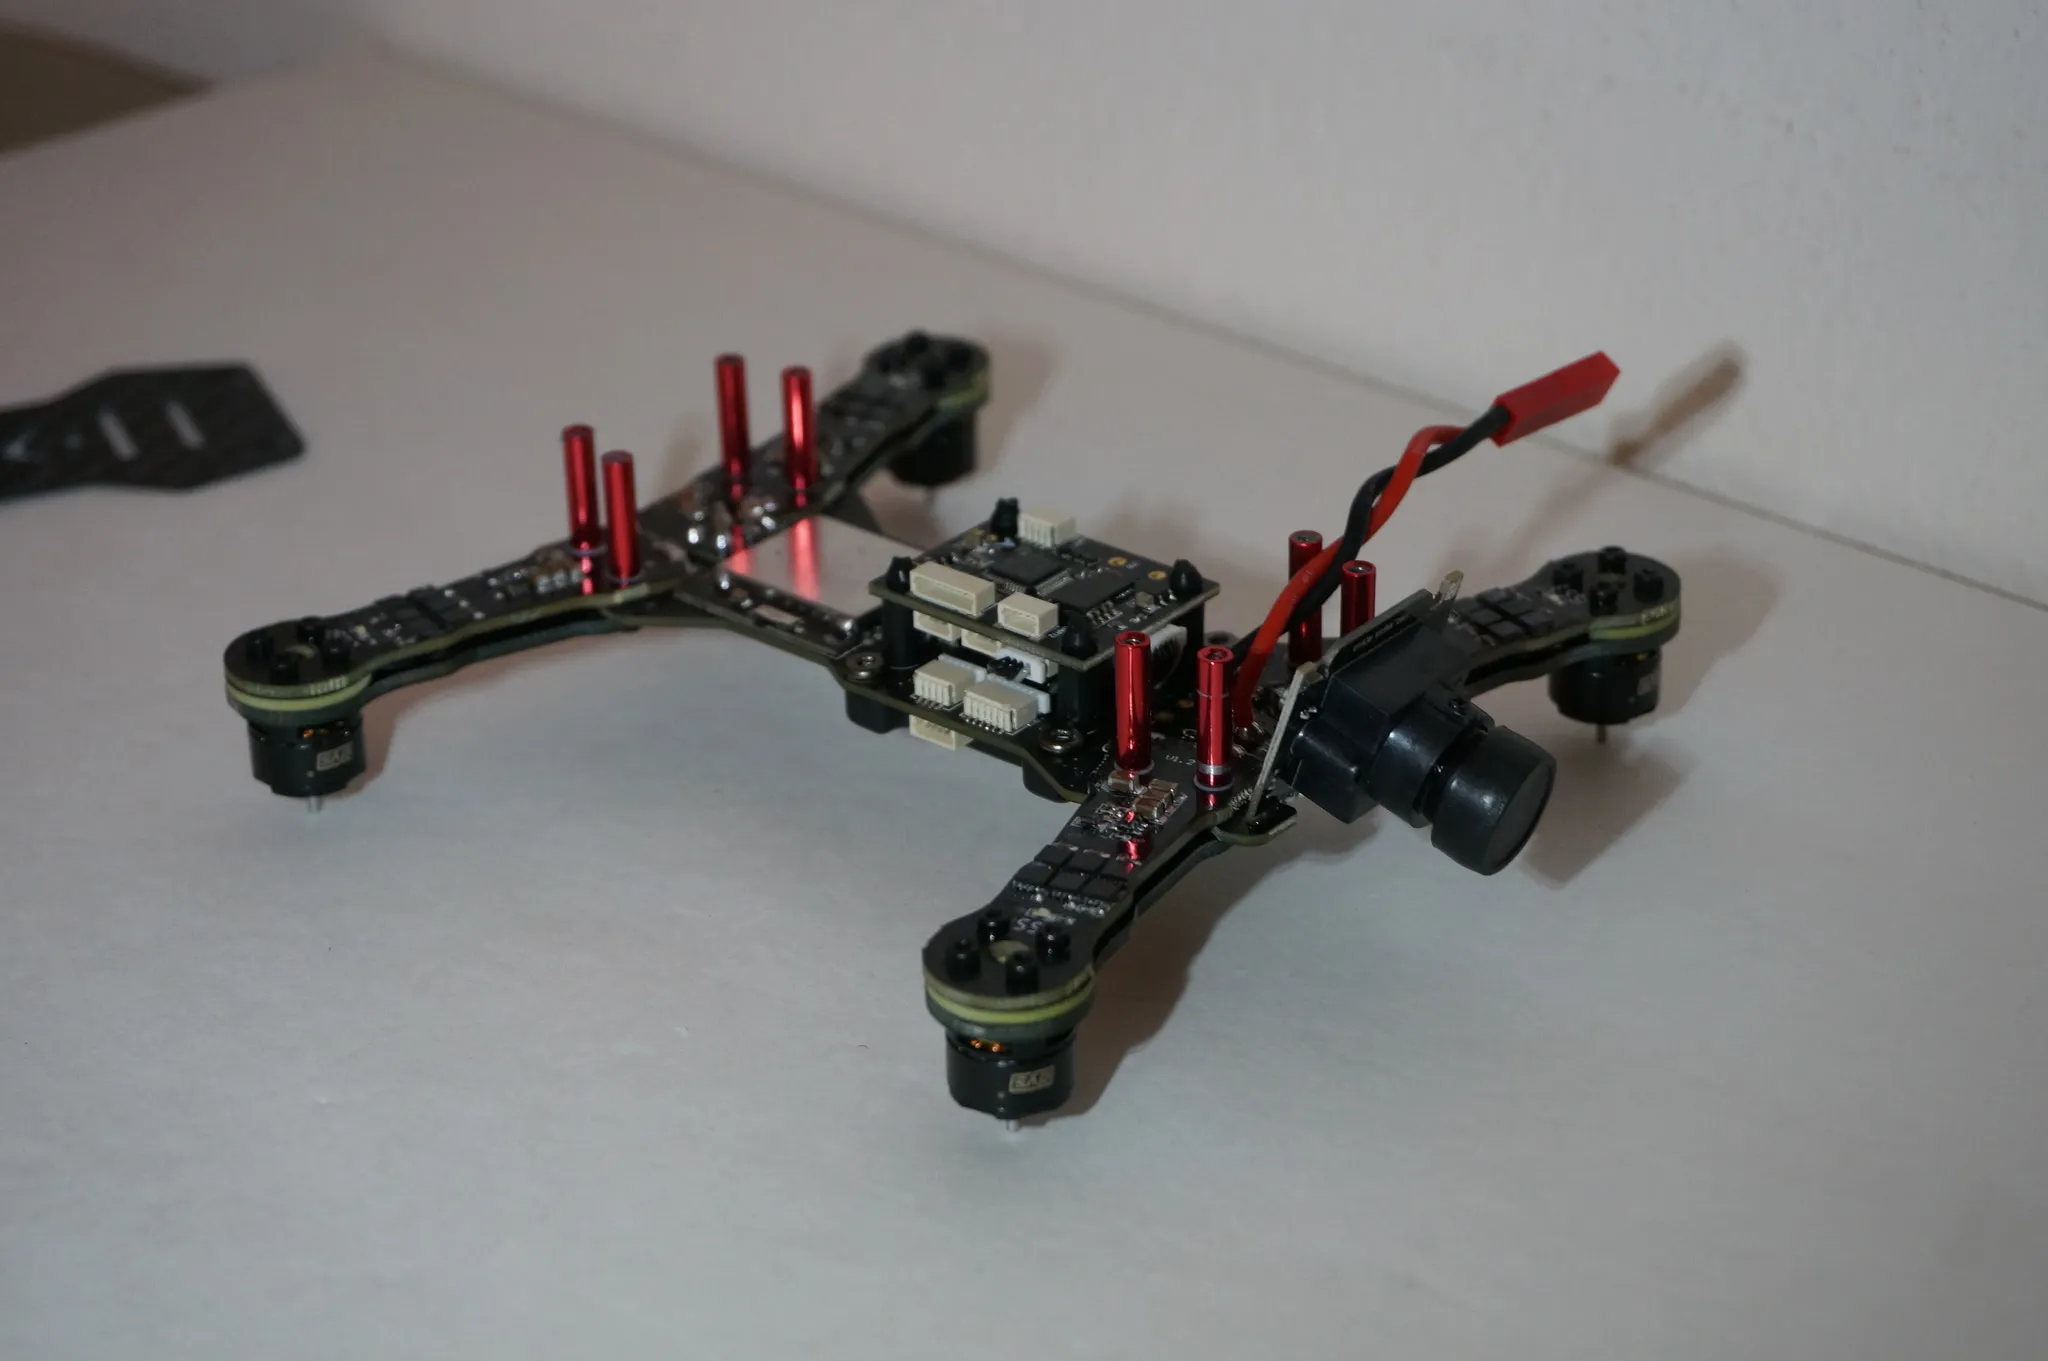
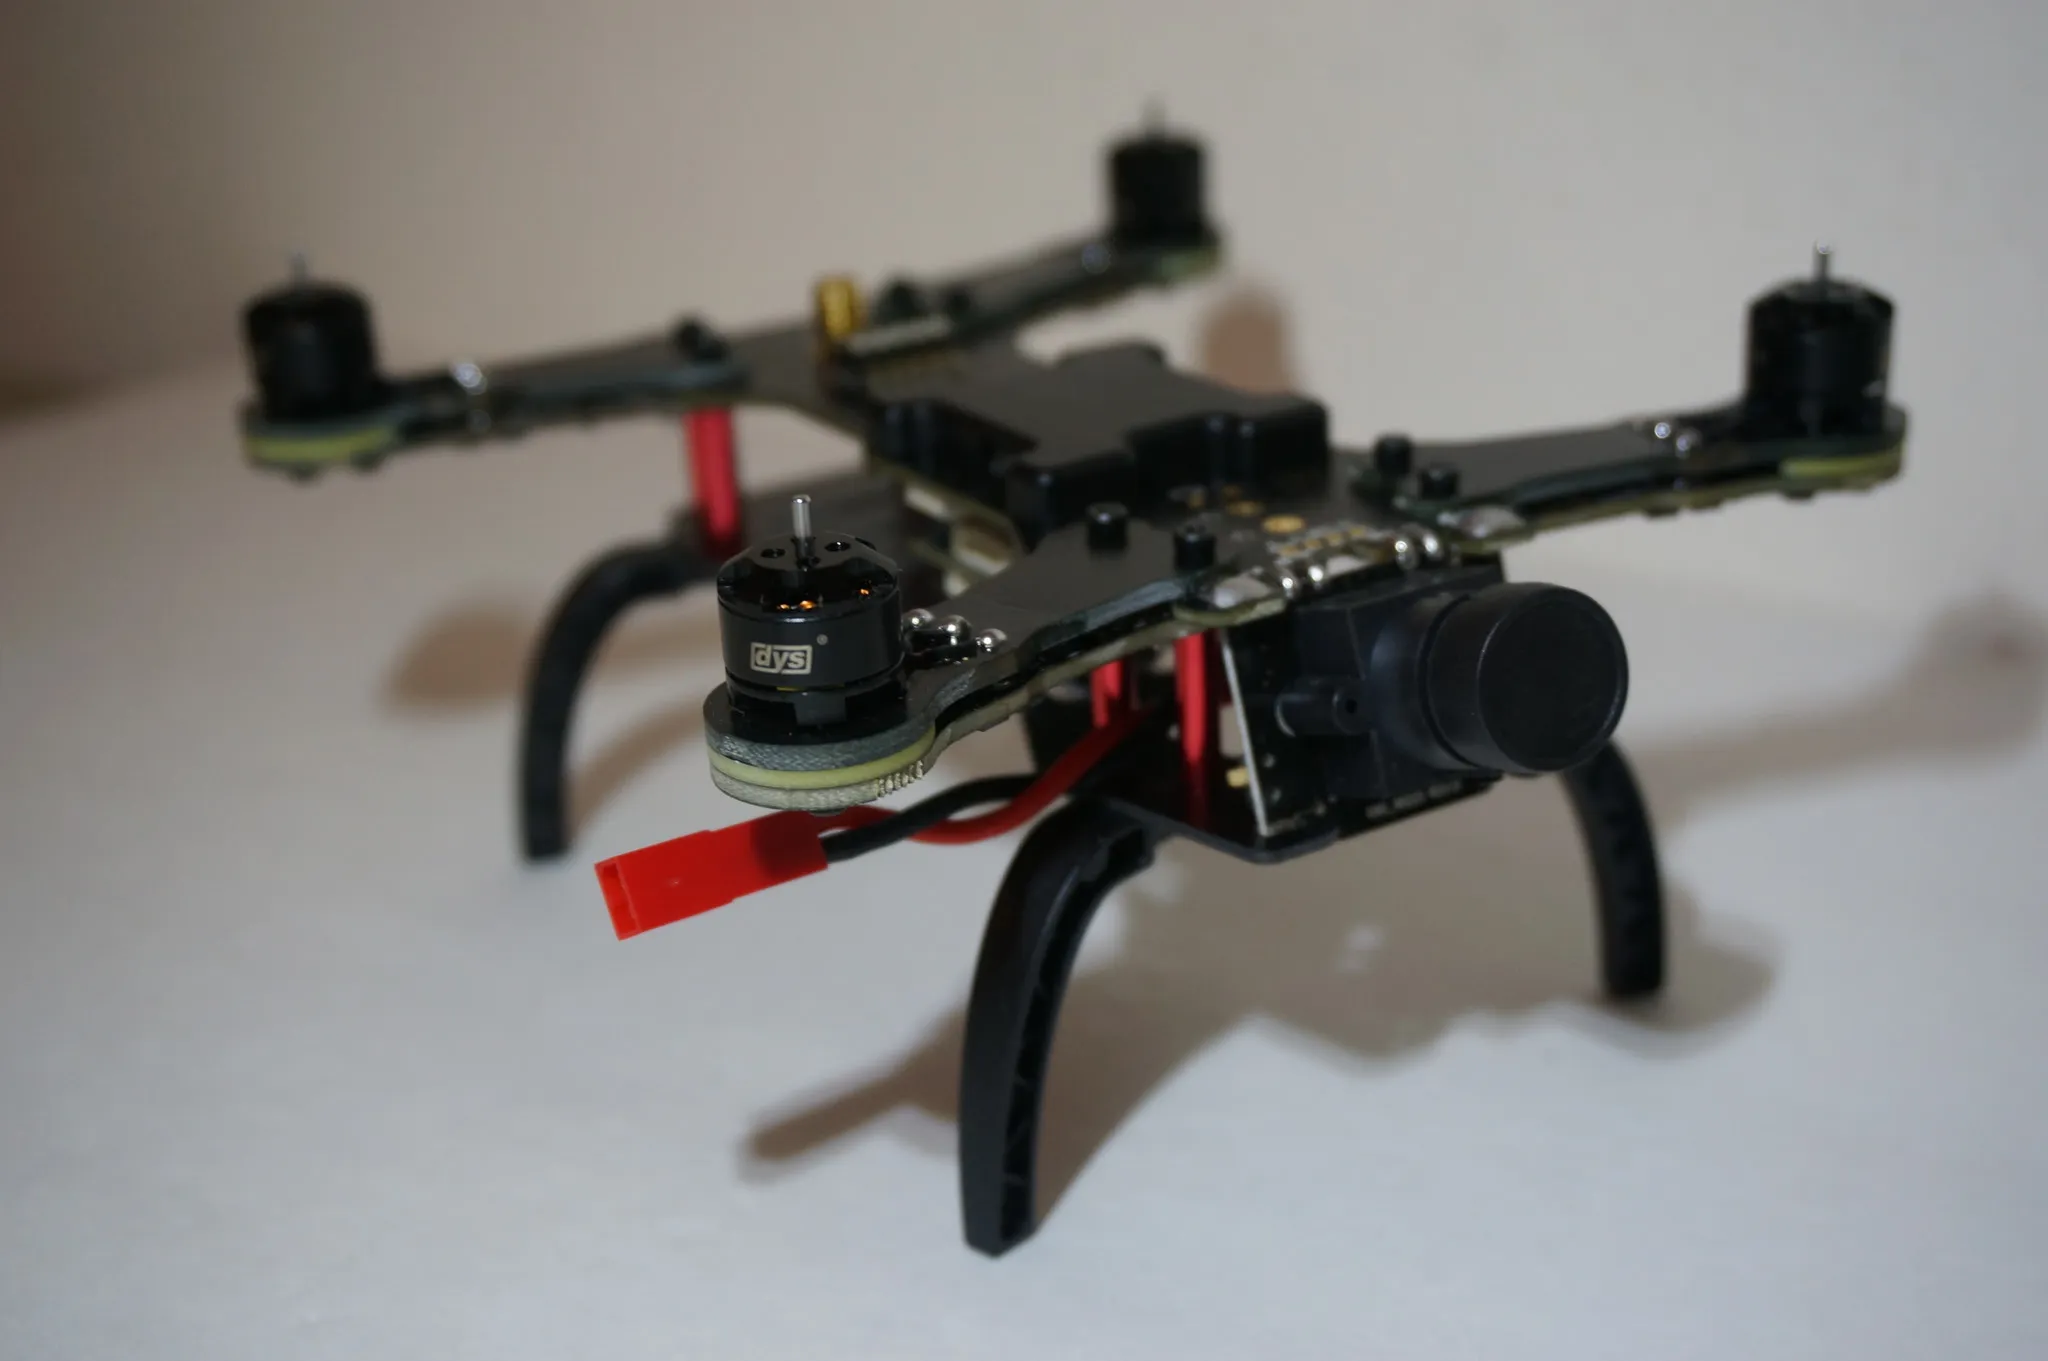
The bottom piece of the arms has an integrated DYS XM10 ESC.
Weight with the antenna is 138g.
The antenna connector is an SMA Female connector:
To install the landing gear you’ll need to remove all the screws holding on the bottom plate. This was very difficult. One screw was stuck, so I had to use a heat gun and a pair of piers.
Landing gear installed!
Strength
On my second flight, just cruising around the courtyard by our apartment, I hit a tree about 12 feet up and crashed upside down on the video antenna.
This pushed in the whole video transmitter and left the SMA adapter bent like so:
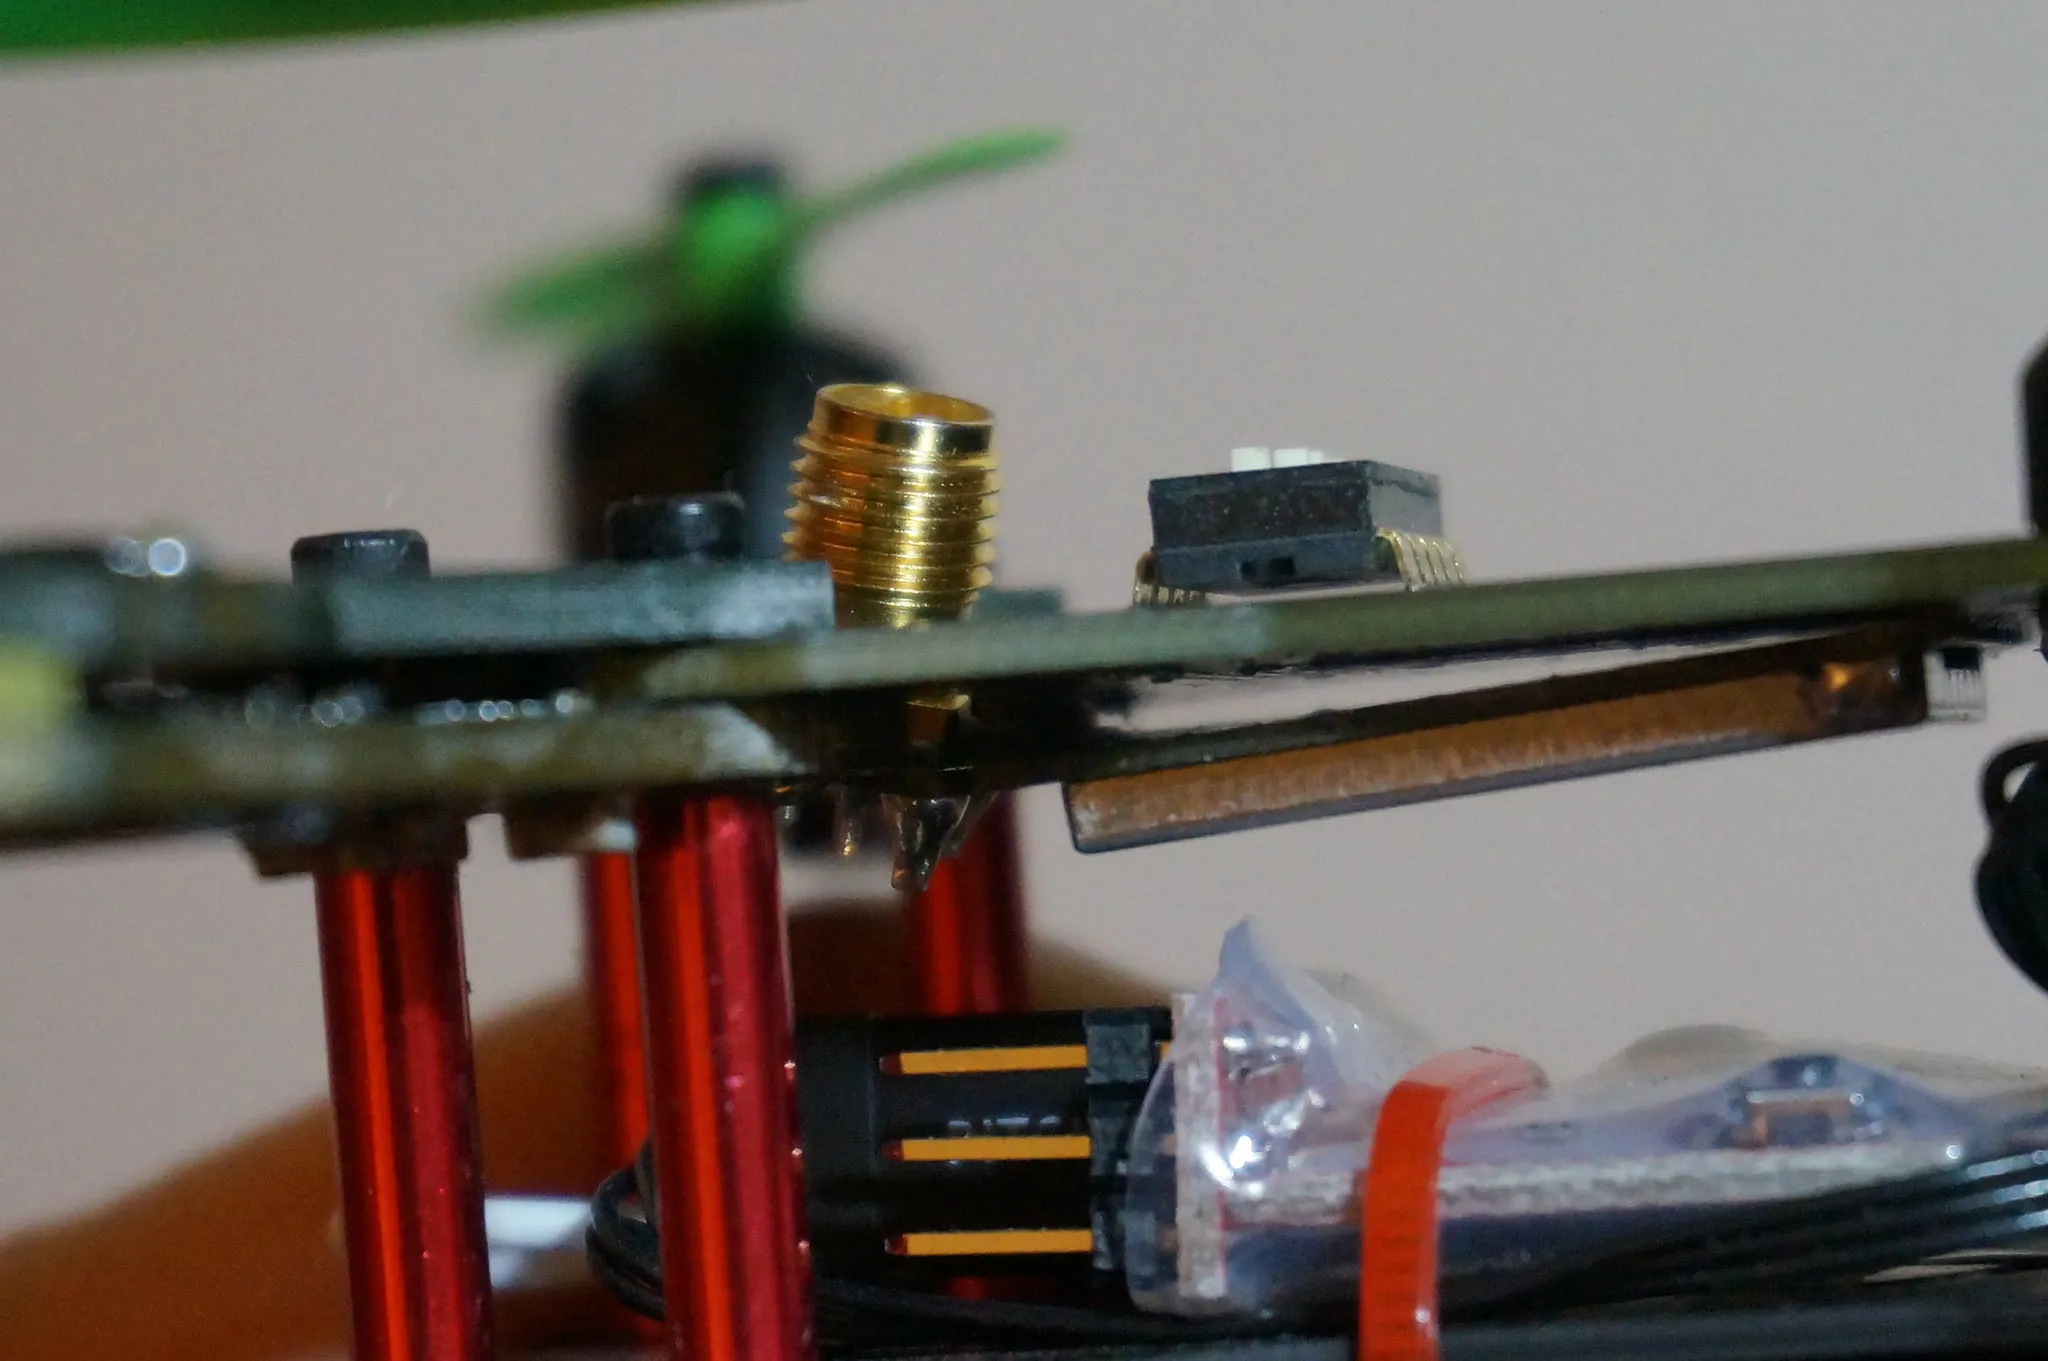
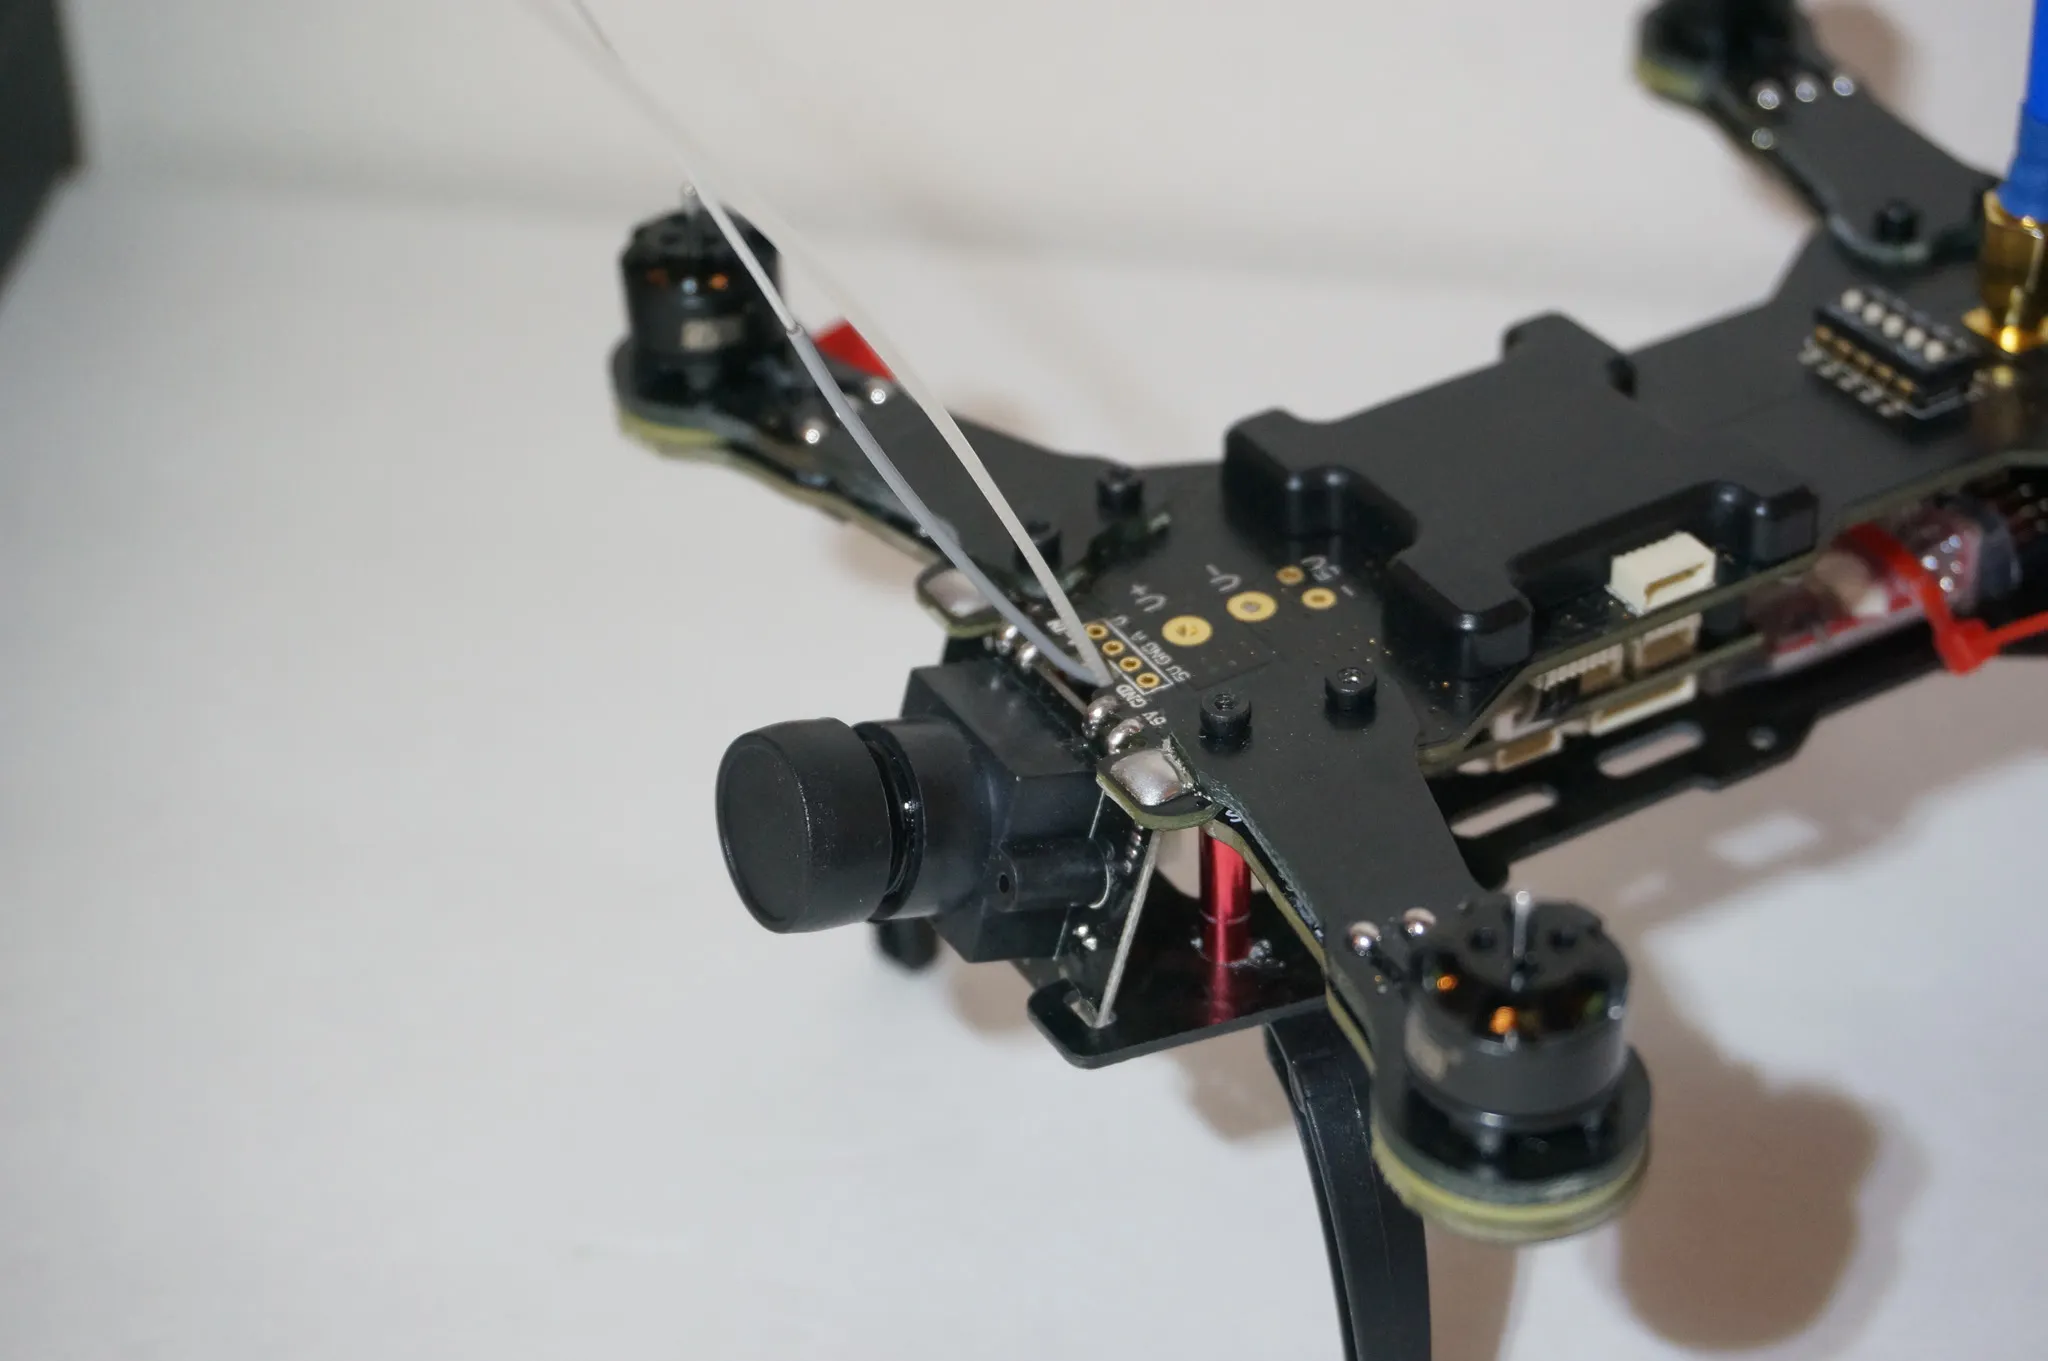
On further inspection, I found that the failure points were these two solder points that hold the VTX to the frame. The third, middle solder point did not fail. I suggest you add some extra solder to these solder points when installing the landing gear and you shouldn’t have any trouble:
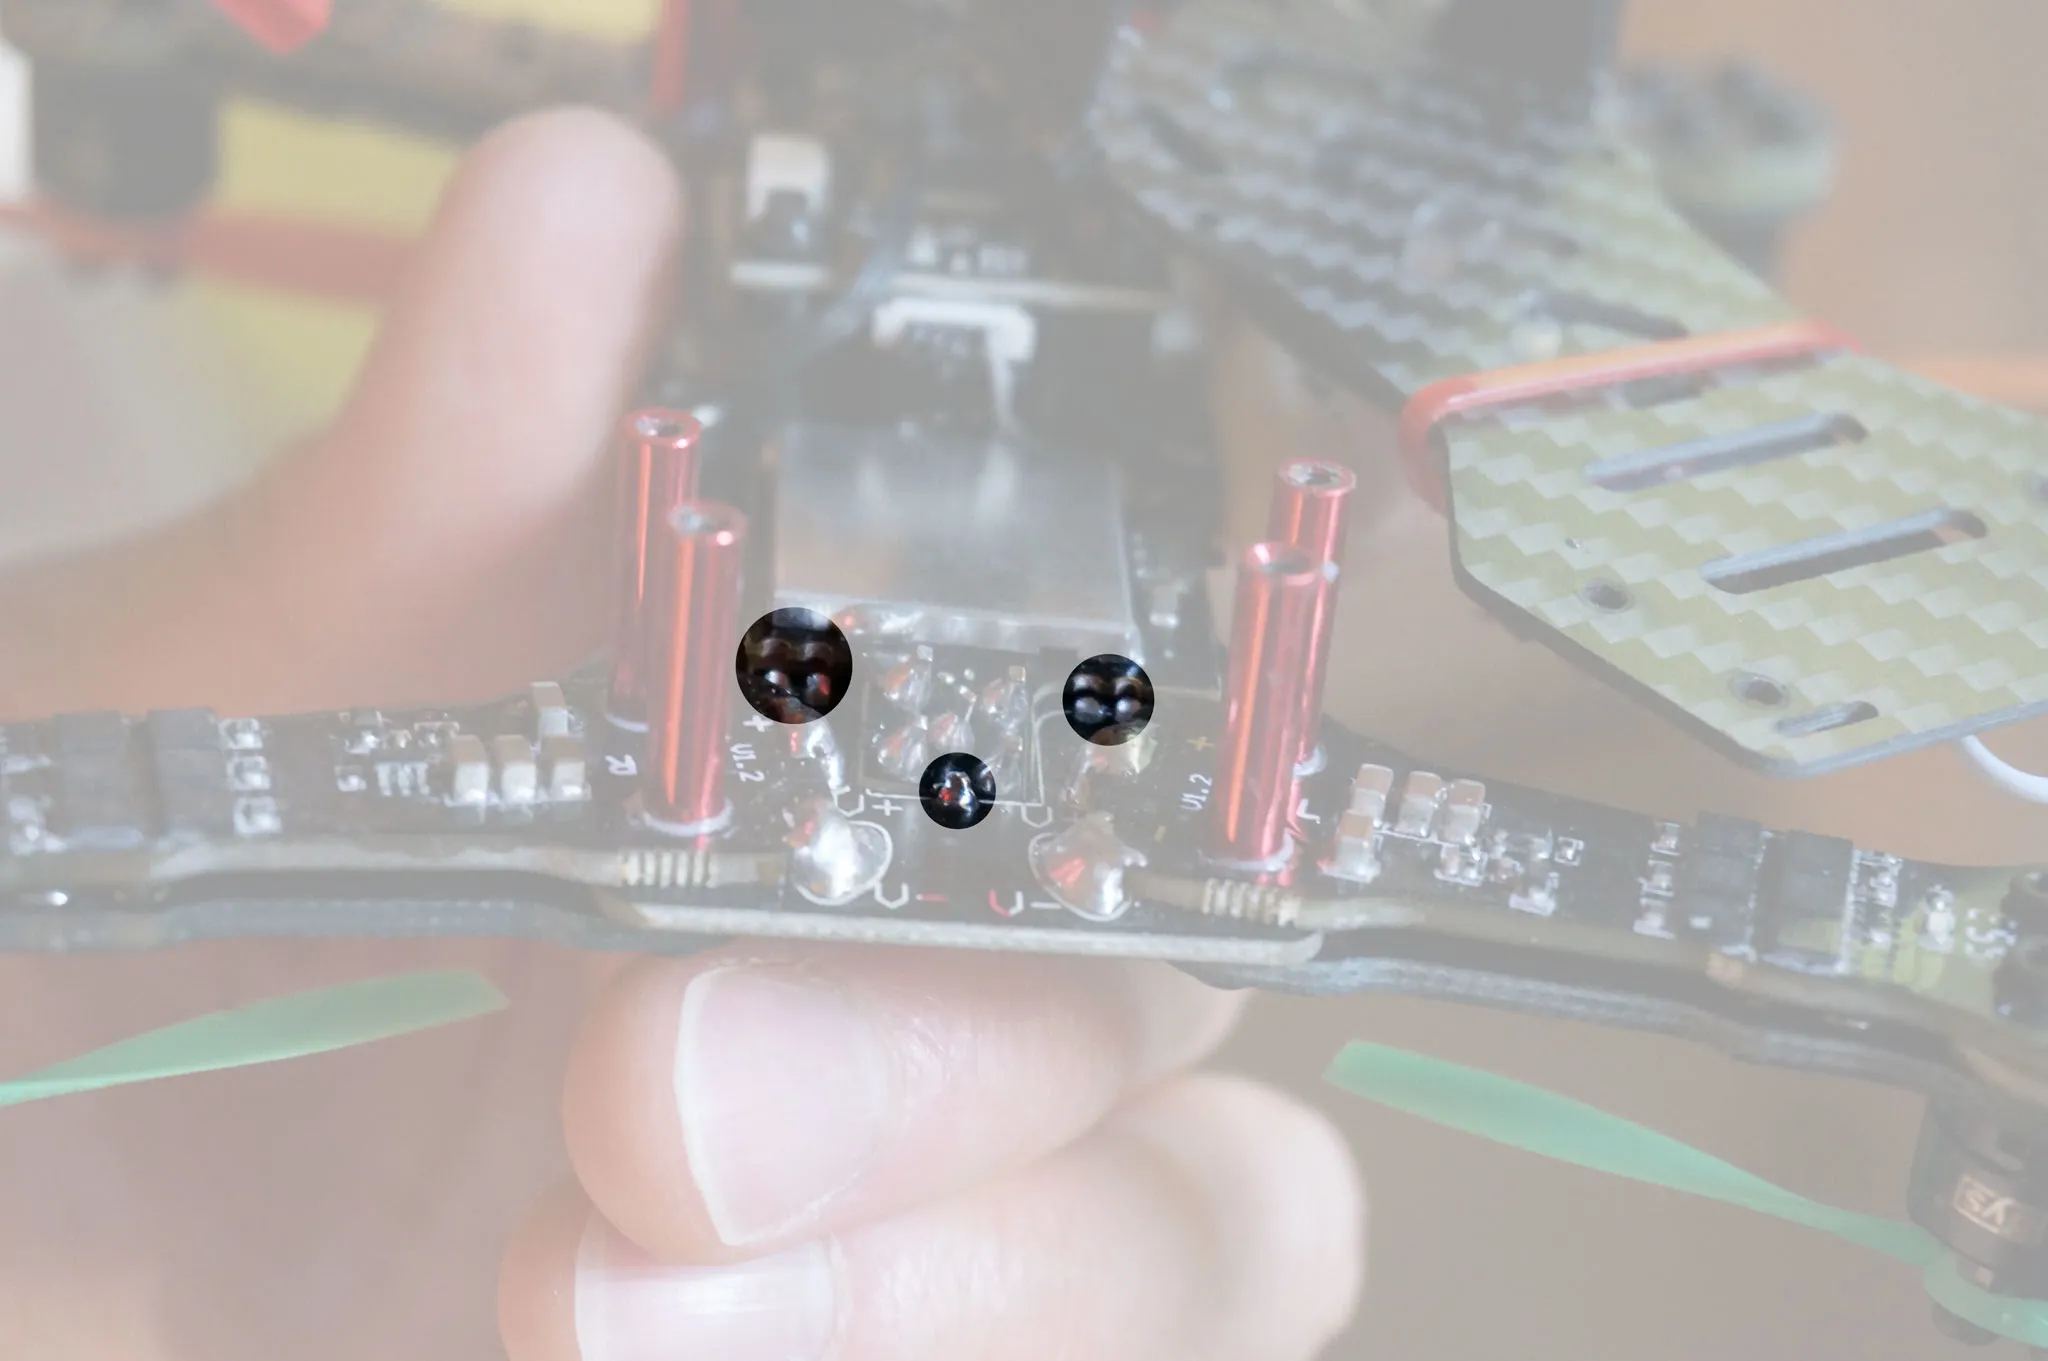
Since re-enforcing these points, I’ve been flying around without any issue. It seems unlikely that they’ll break, but extra arms are available here
Pinout

Receiver
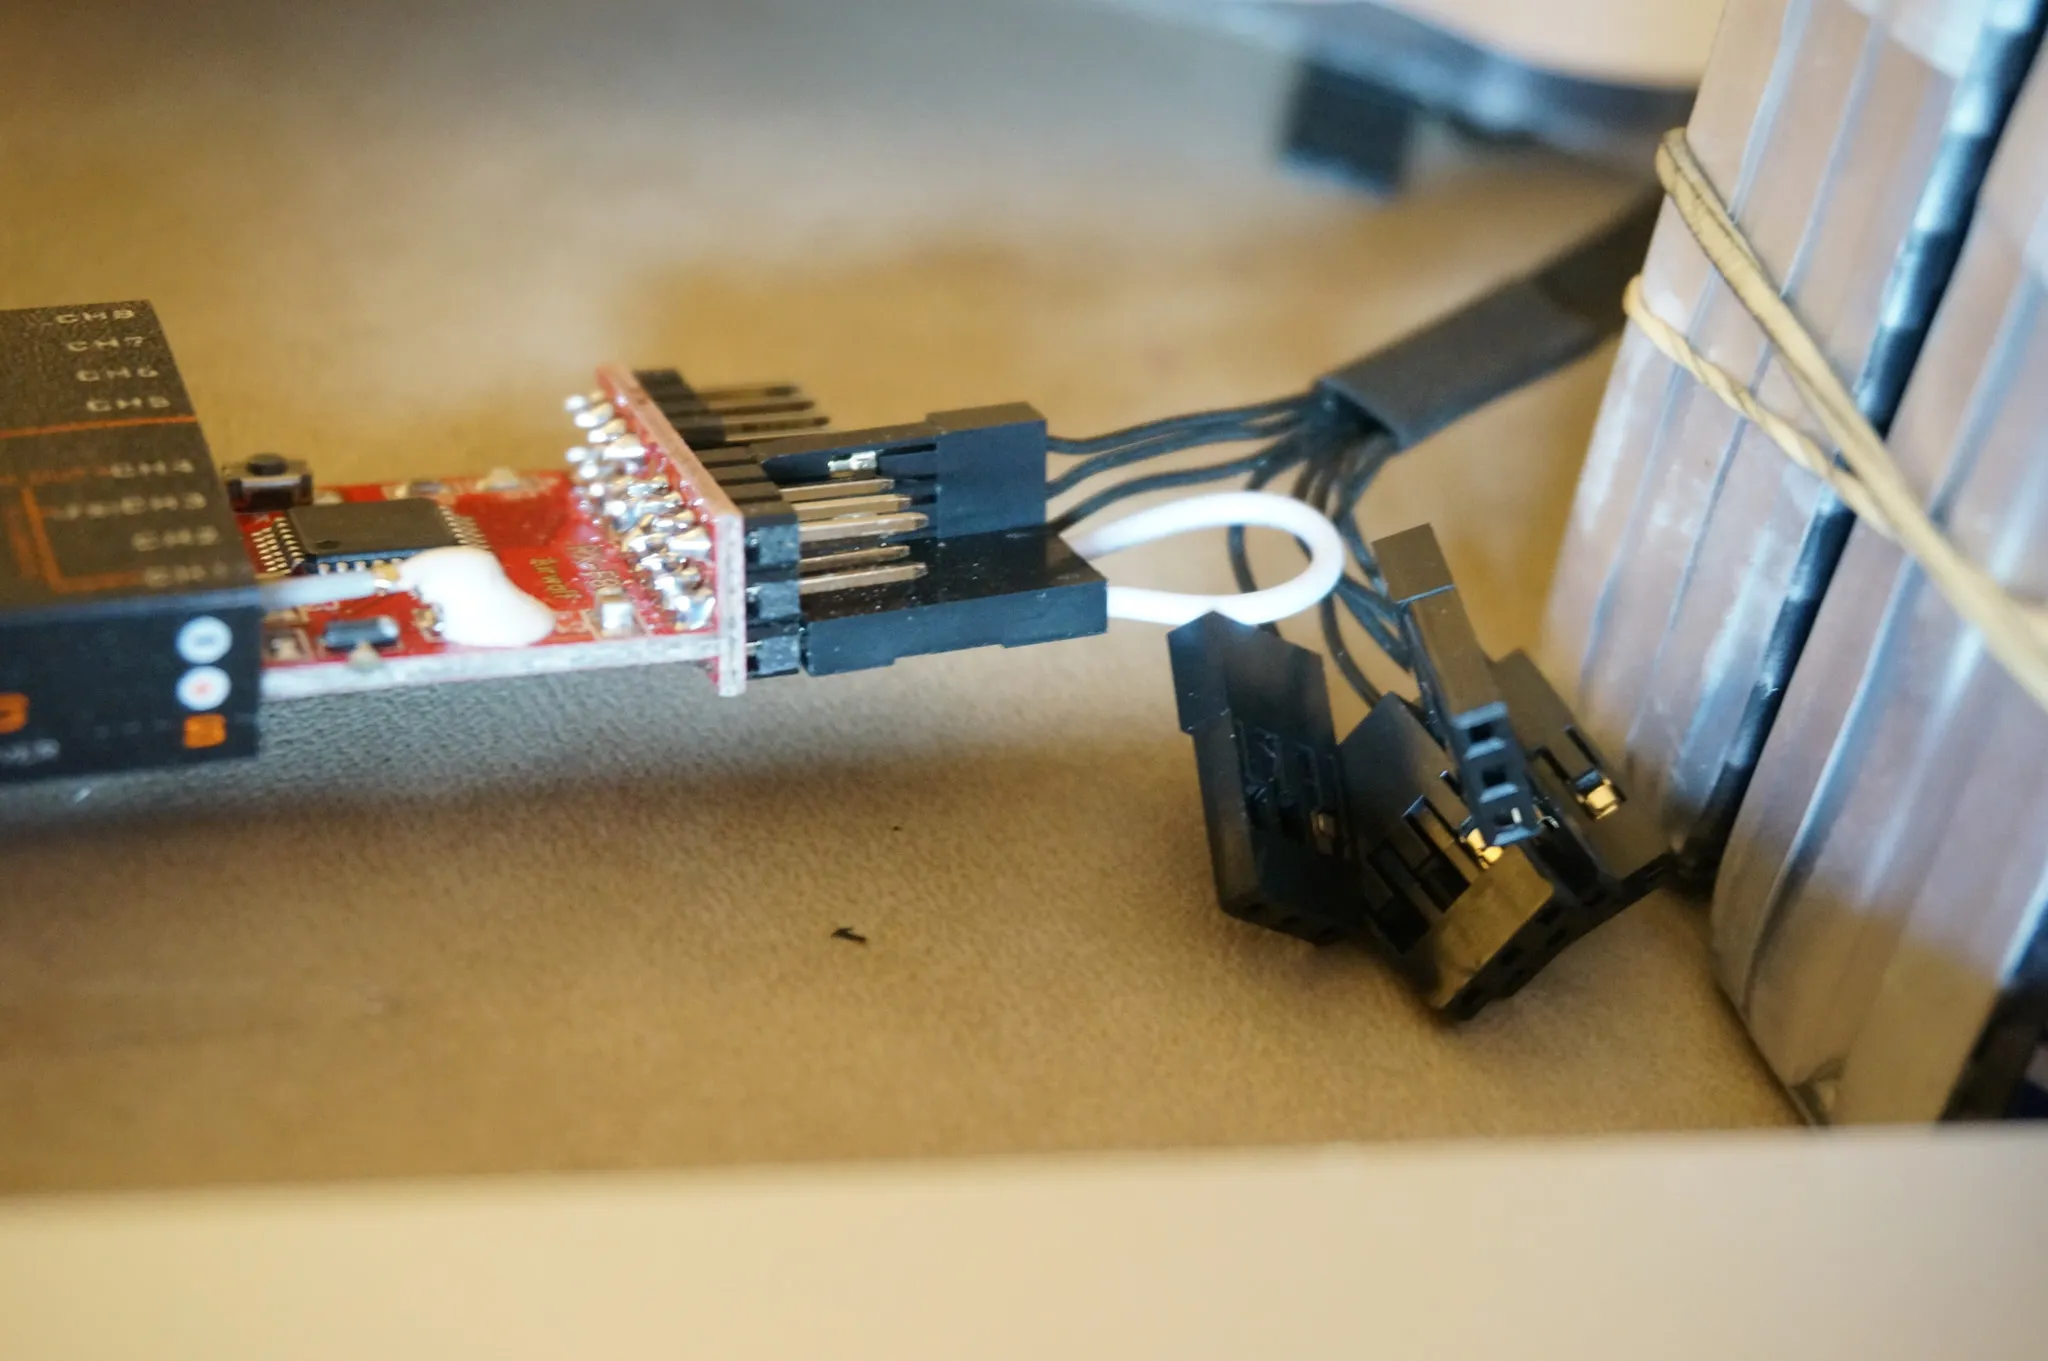
Port 6 has PPM/PWM in. From left to right the pins are: GND, 5v, PPM/PWM1, PWM2, …, PWM6
Here I’m using the F801
Here is what the up-close wiring looks like on the receiver side:
I then installed a ziptie, attached to the bottom plate:
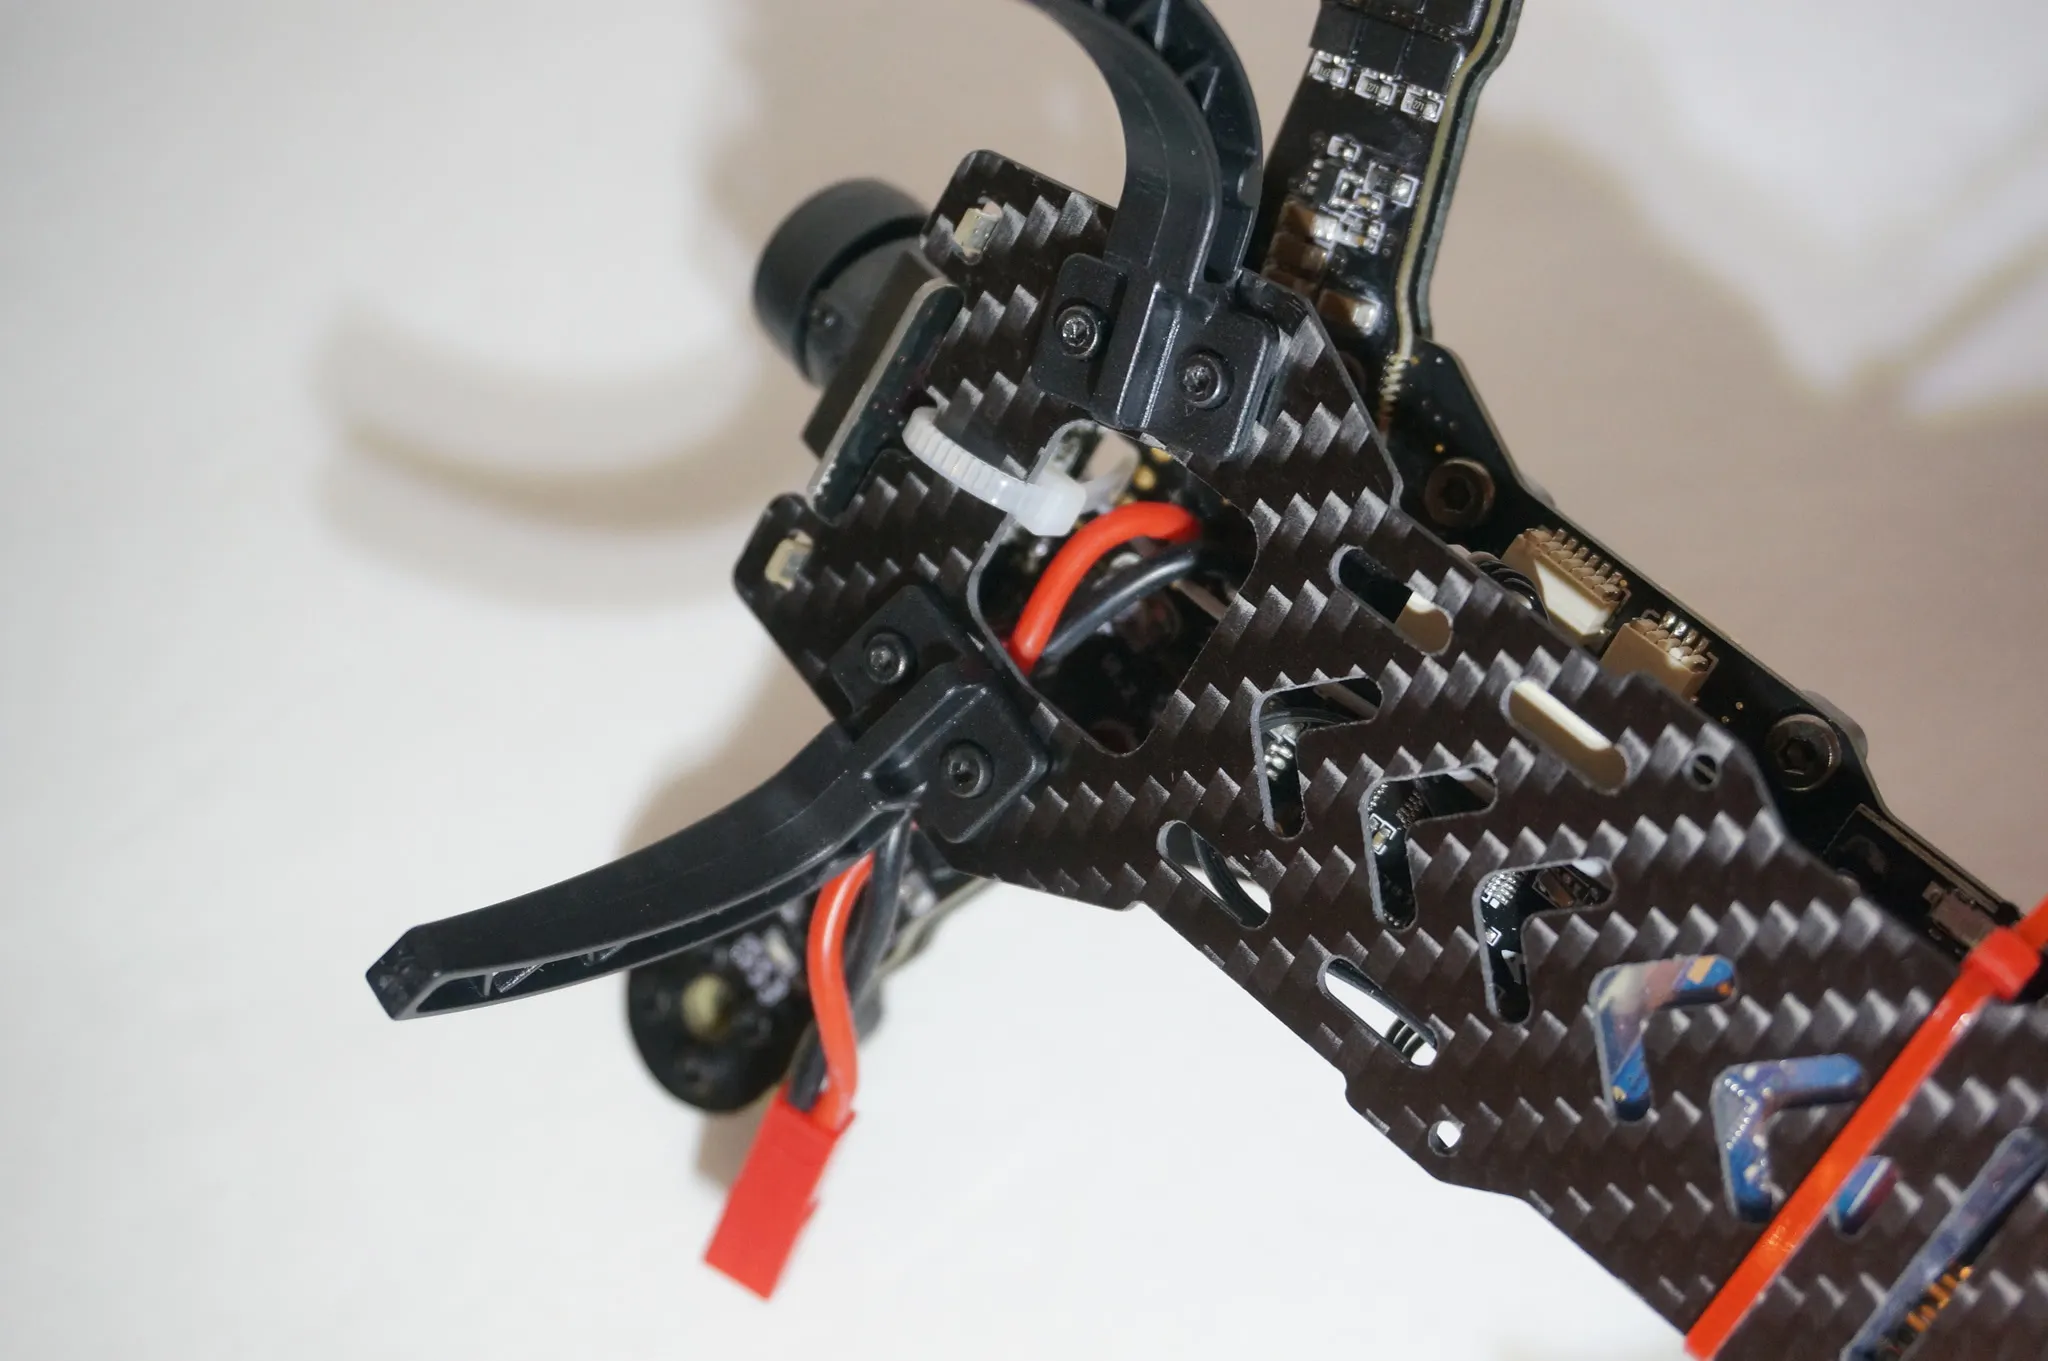
It sticks out the top along with the receiver antenna.
I then used some heatshrink to hold these together and turned the drone into a unicorn!
Video transmitter channels